
How to Plan a Retaining Wall Design That Lasts Through Wisconsin and Minnesota Winters
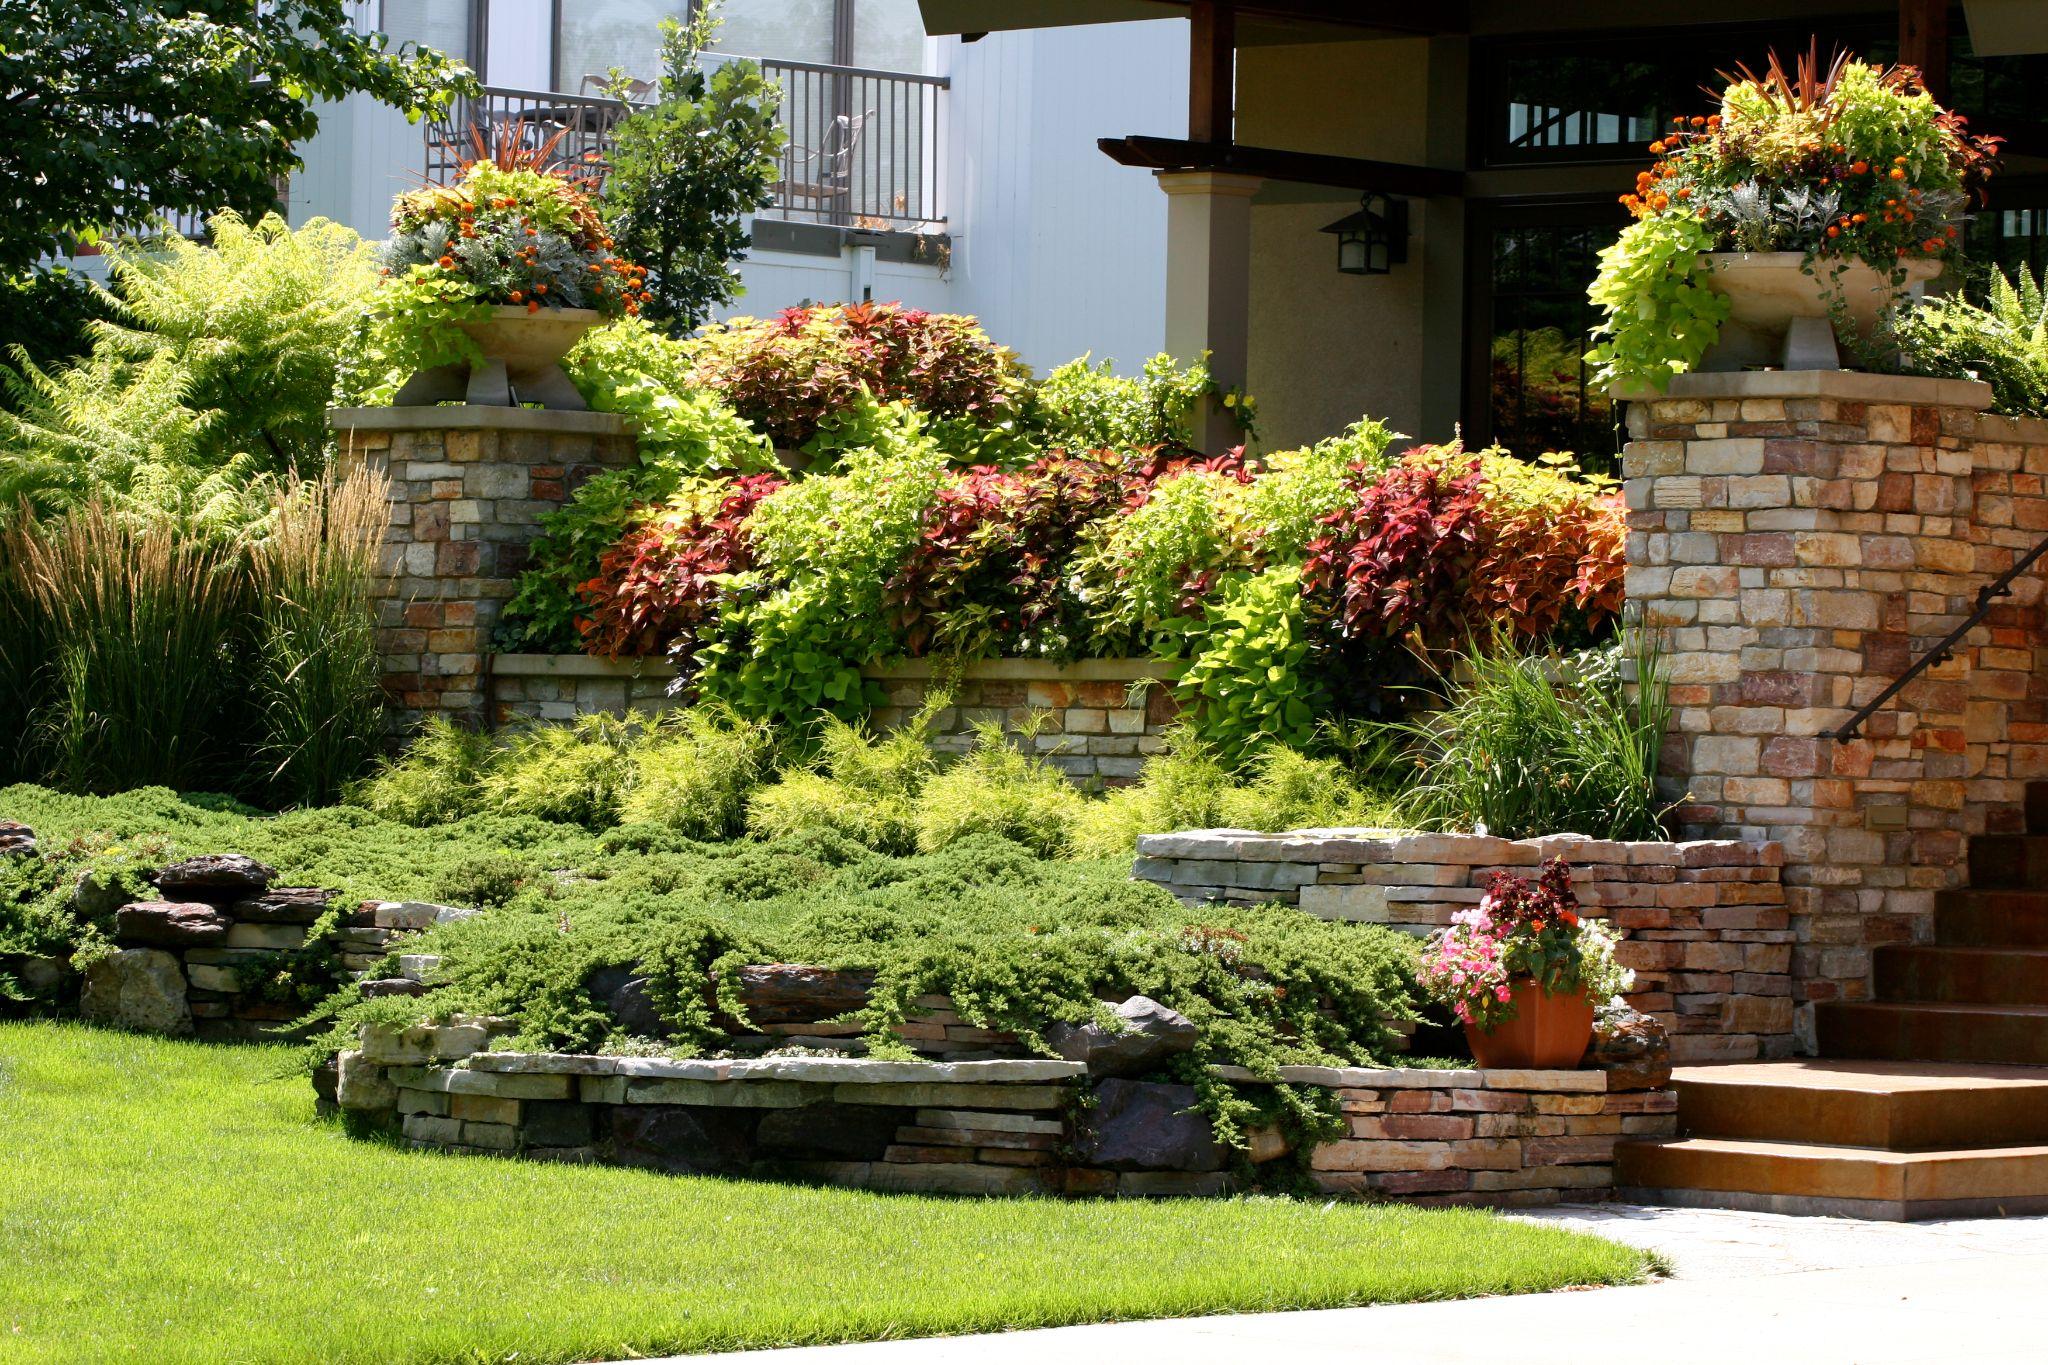
The St. Croix River Valley is full of properties that need retaining walls: bluffed river lots with 20-foot grade changes, steep suburban yards carved from old farmland, flat-looking properties with low spots that move significant water every April. In this region, retaining wall design is a structural project first and a design choice second. The two are inseparable: a wall that isn’t built for Wisconsin’s freeze-thaw cycles, clay-heavy soils, and spring thaw volumes will fail regardless of how well it looks in year one.
Willow River Company has designed and installed retaining walls across the St. Croix River Valley for over three decades. What we’ve learned is that most wall failures, including those that looked fine when built, come down to two problems: inadequate drainage and improper base preparation. This guide covers what you need to understand before a contractor ever shows up on your property, so you can have an informed conversation about your specific slope, site conditions, and retaining wall design ideas that will actually hold up. When it comes to landscape design, retaining walls that integrate naturally into the surrounding yard, the structural decisions and the aesthetic ones have to be made together..
Step 1: Understand Why Your Slope Is Failing
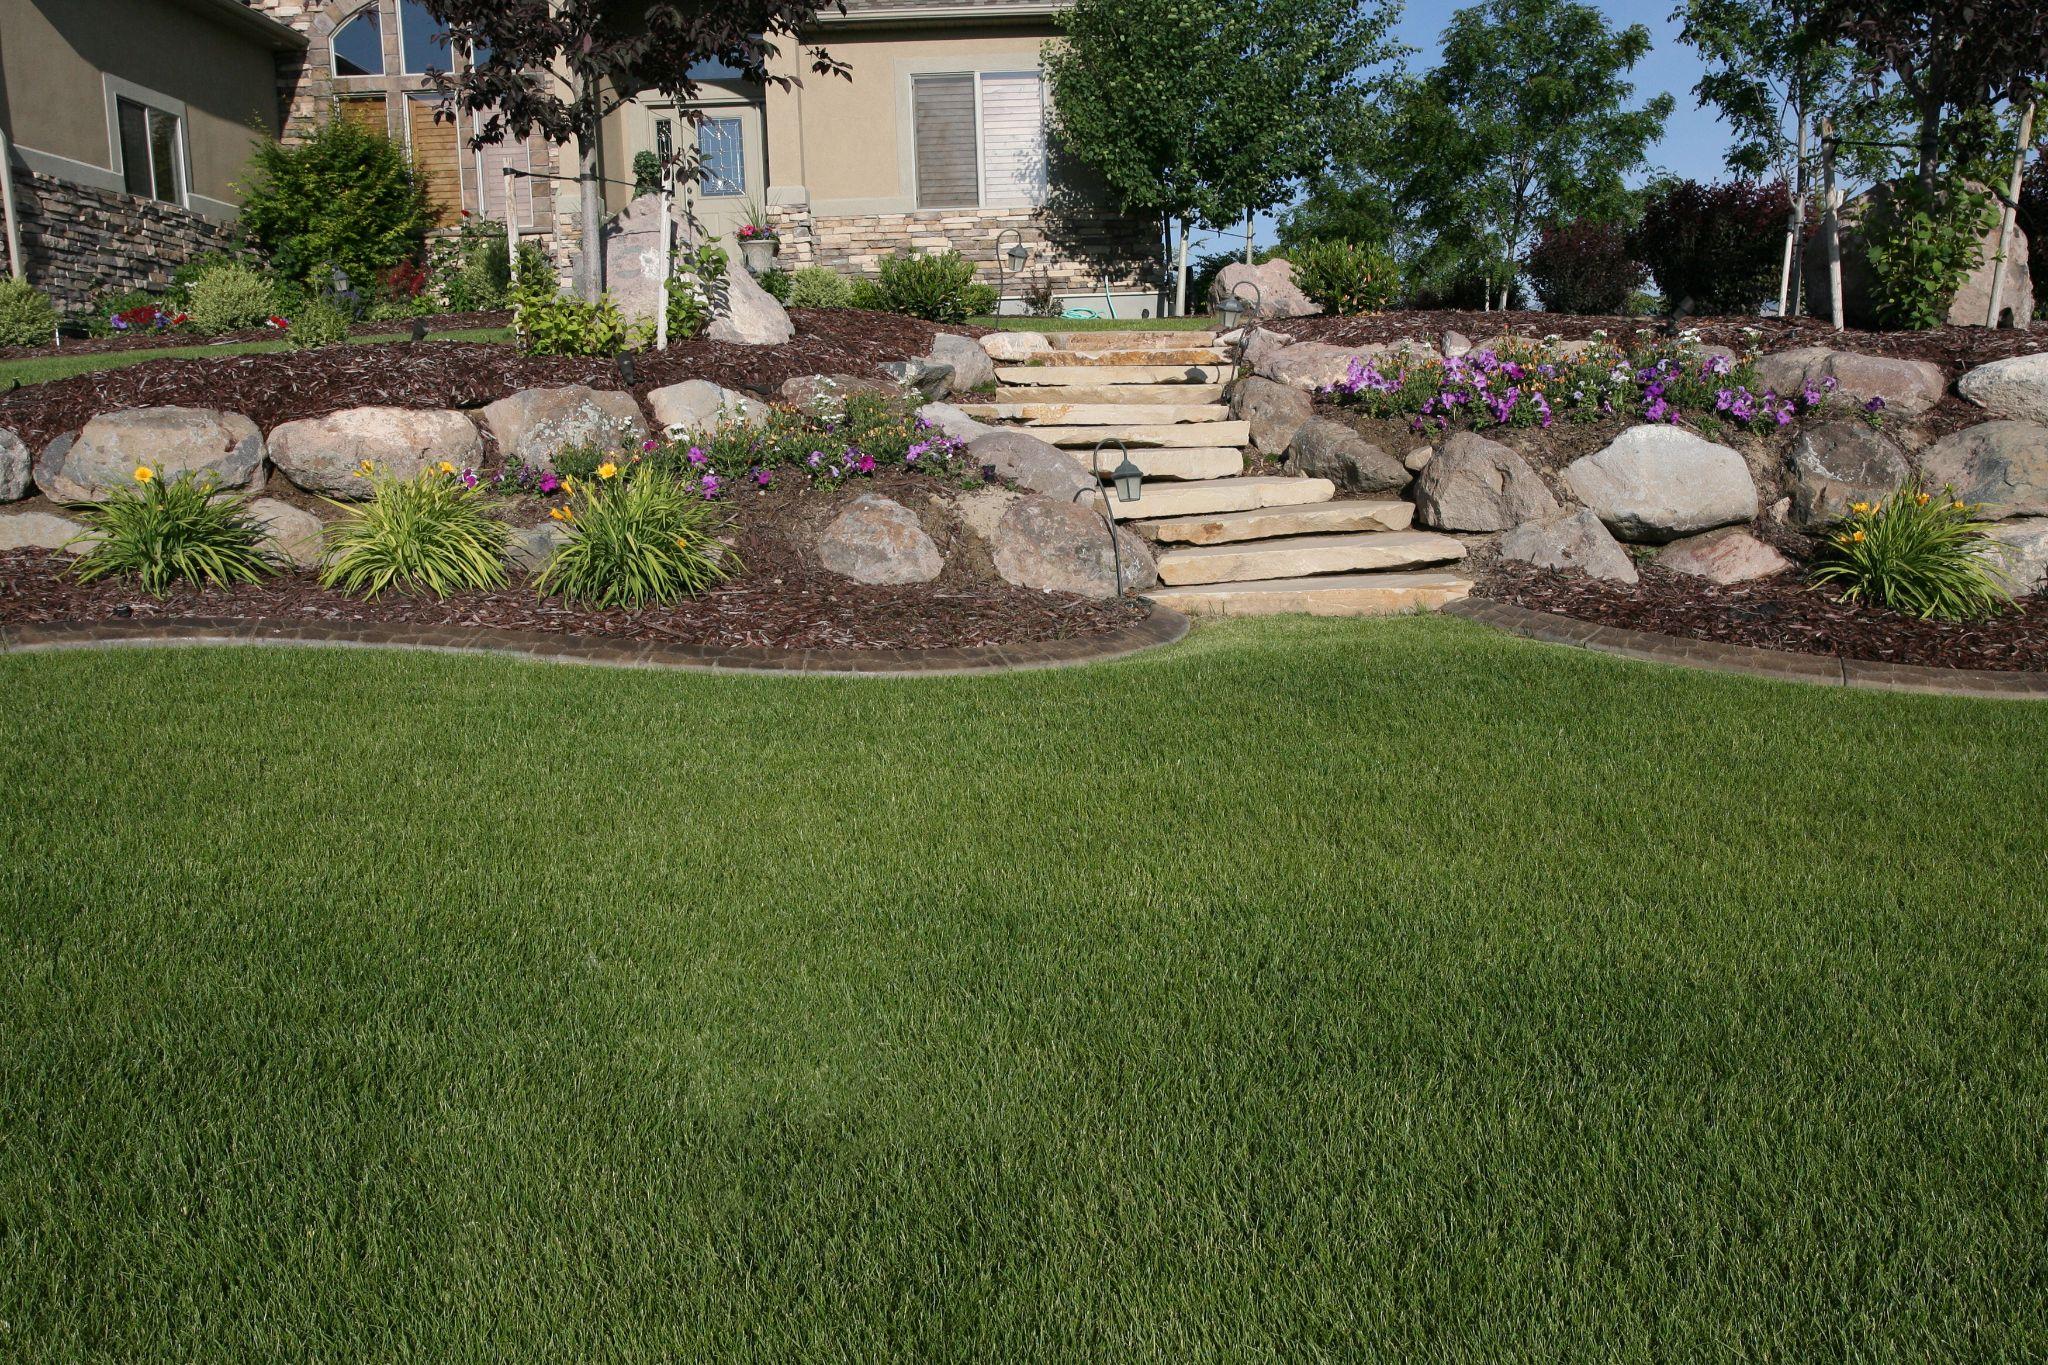
Retaining wall guidance starts with diagnosis, not materials. Before you choose a block style or get a quote, you need to understand what’s actually happening on your slope — because the root cause determines the wall type, the height, and the drainage system required.
The most common causes of slope failure in the St. Croix Valley include:
- Spring thaw erosion: Snowmelt runs downhill faster than the ground can absorb it, carrying topsoil with it.
- Clay soil hydrostatic pressure: Water-saturated clay behind a slope pushes outward and downhill with significant force.
- Inadequate original grading: Slopes left improperly graded at the time of construction are vulnerable from the start.
- Tree root displacement: Mature root systems expand over decades, gradually shifting soil out of place
The USDA Web Soil Survey is a useful tool for understanding what soil types are present on your property — Western Wisconsin has significant clay content across many areas, particularly near river systems and at lower elevations. Clay soil holds water far longer than sandy or loamy soils, which means the forces acting on a retaining wall in this region are greater and more sustained than in drier, sandier climates.
Signs to look for before a consultation:
- Soil displacement or sediment deposits at the bottom of a slope after rain
- Visible erosion channels in the hillside
- Ground that feels soft or spongy near the base of a slope during spring
- Any existing wall showing tilting, cracking, or bulging
Each of these tells a different story about where the water is coming from and what the wall system needs to manage.
Willow River Company’s site consultations begin with a drainage and soil assessment before any design work starts. A wall designed without understanding the water source behind it is designed to fail.
Step 2: Choose the Right Retaining Wall Material for the Project
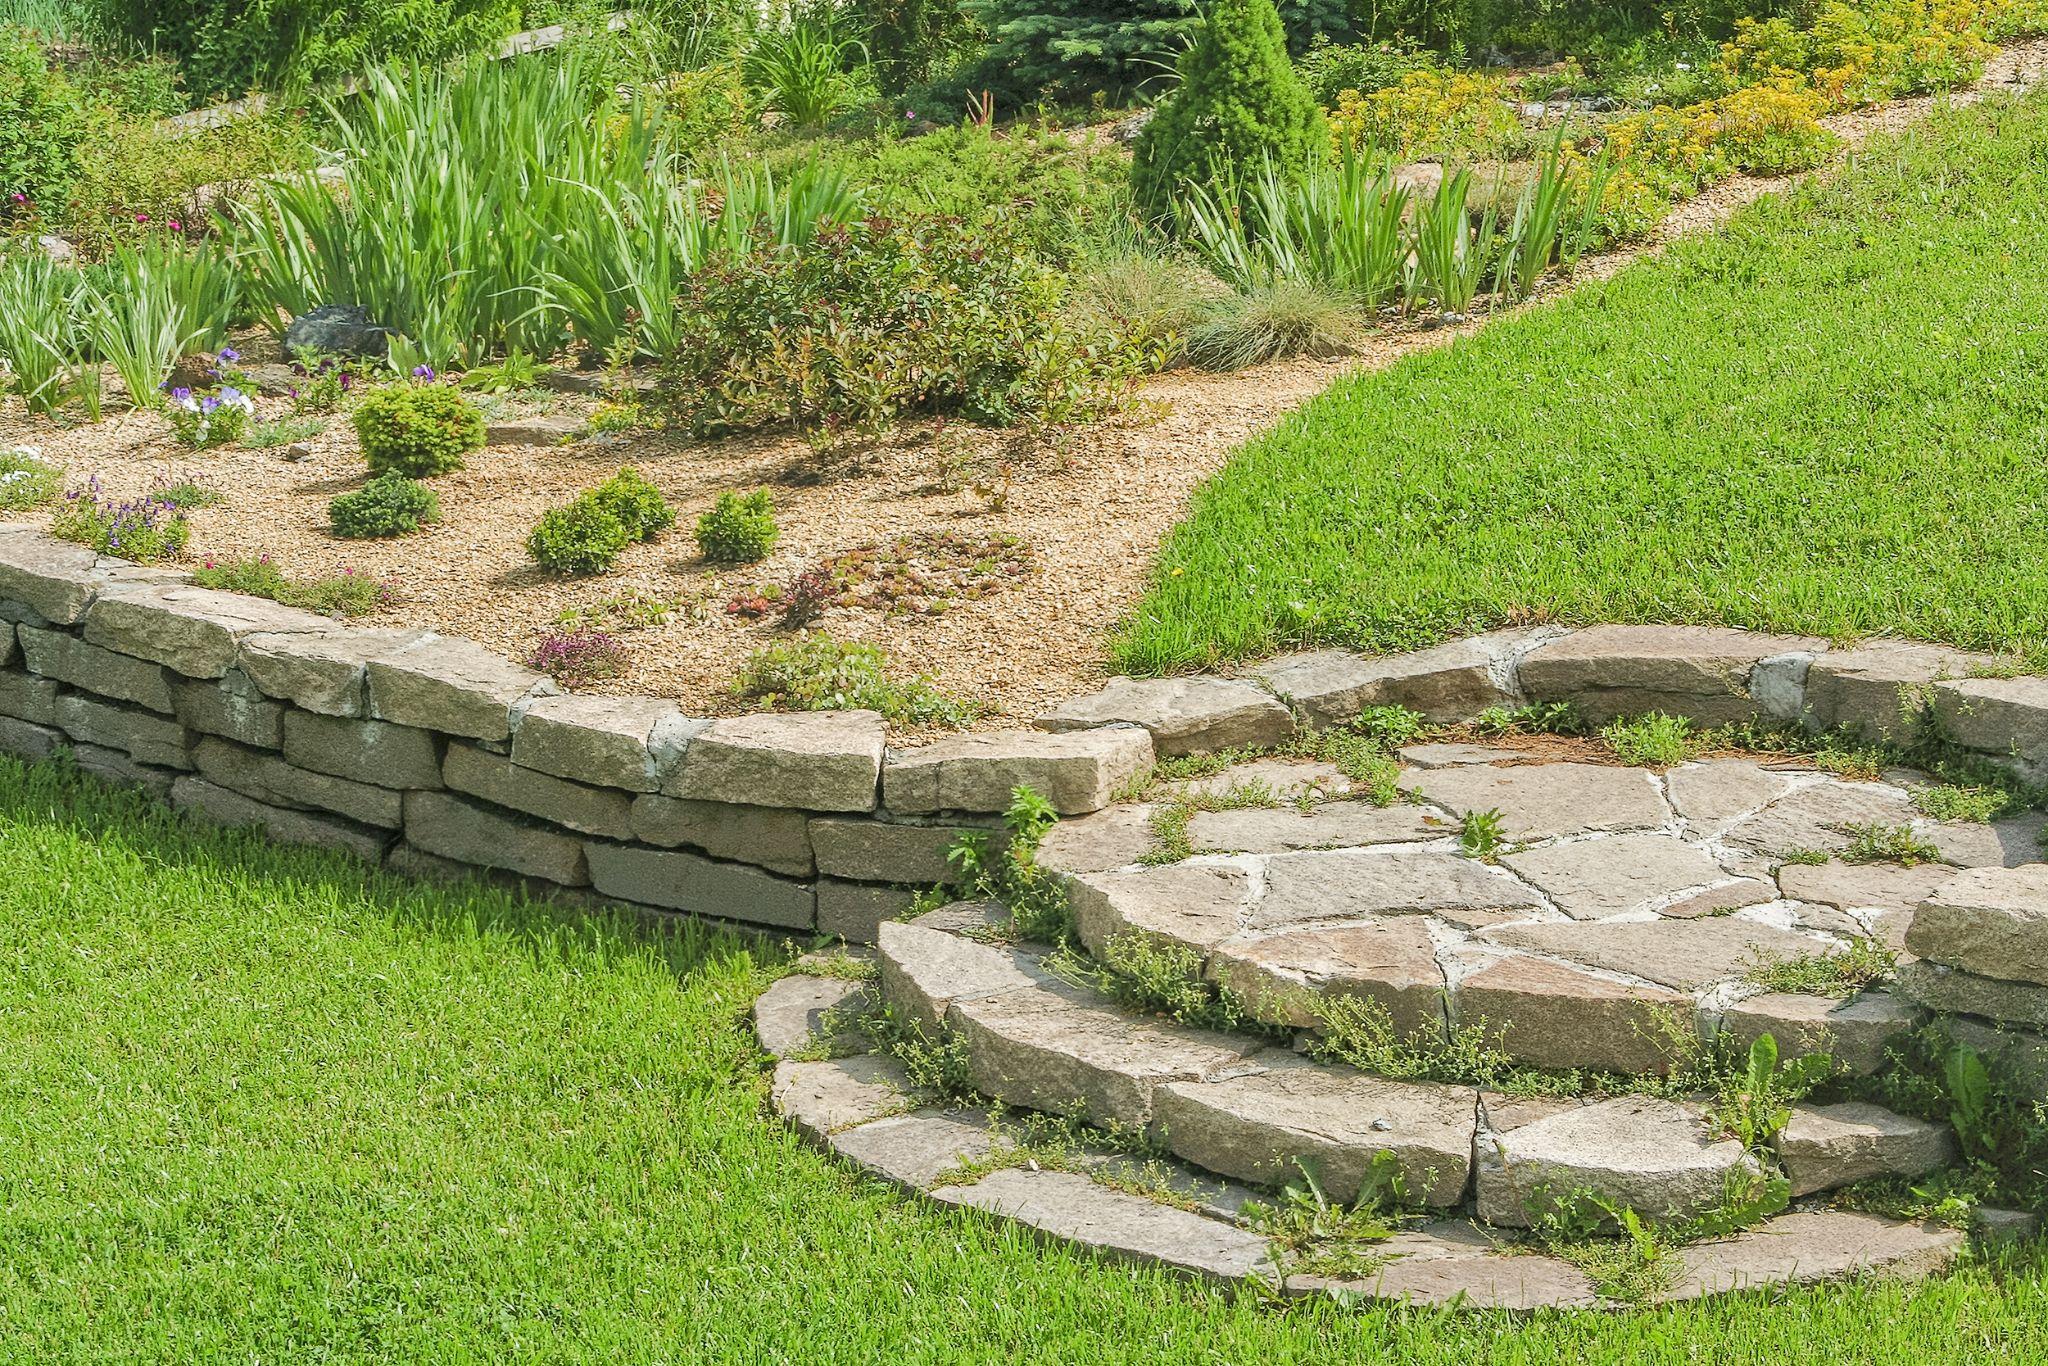
Material selection for retaining wall designs in Wisconsin should be driven by four factors in order: wall height and structural load, hydrostatic pressure at the site, aesthetic preference, and budget. Not the reverse.
Concrete Block (Segmental Retaining Wall Units)
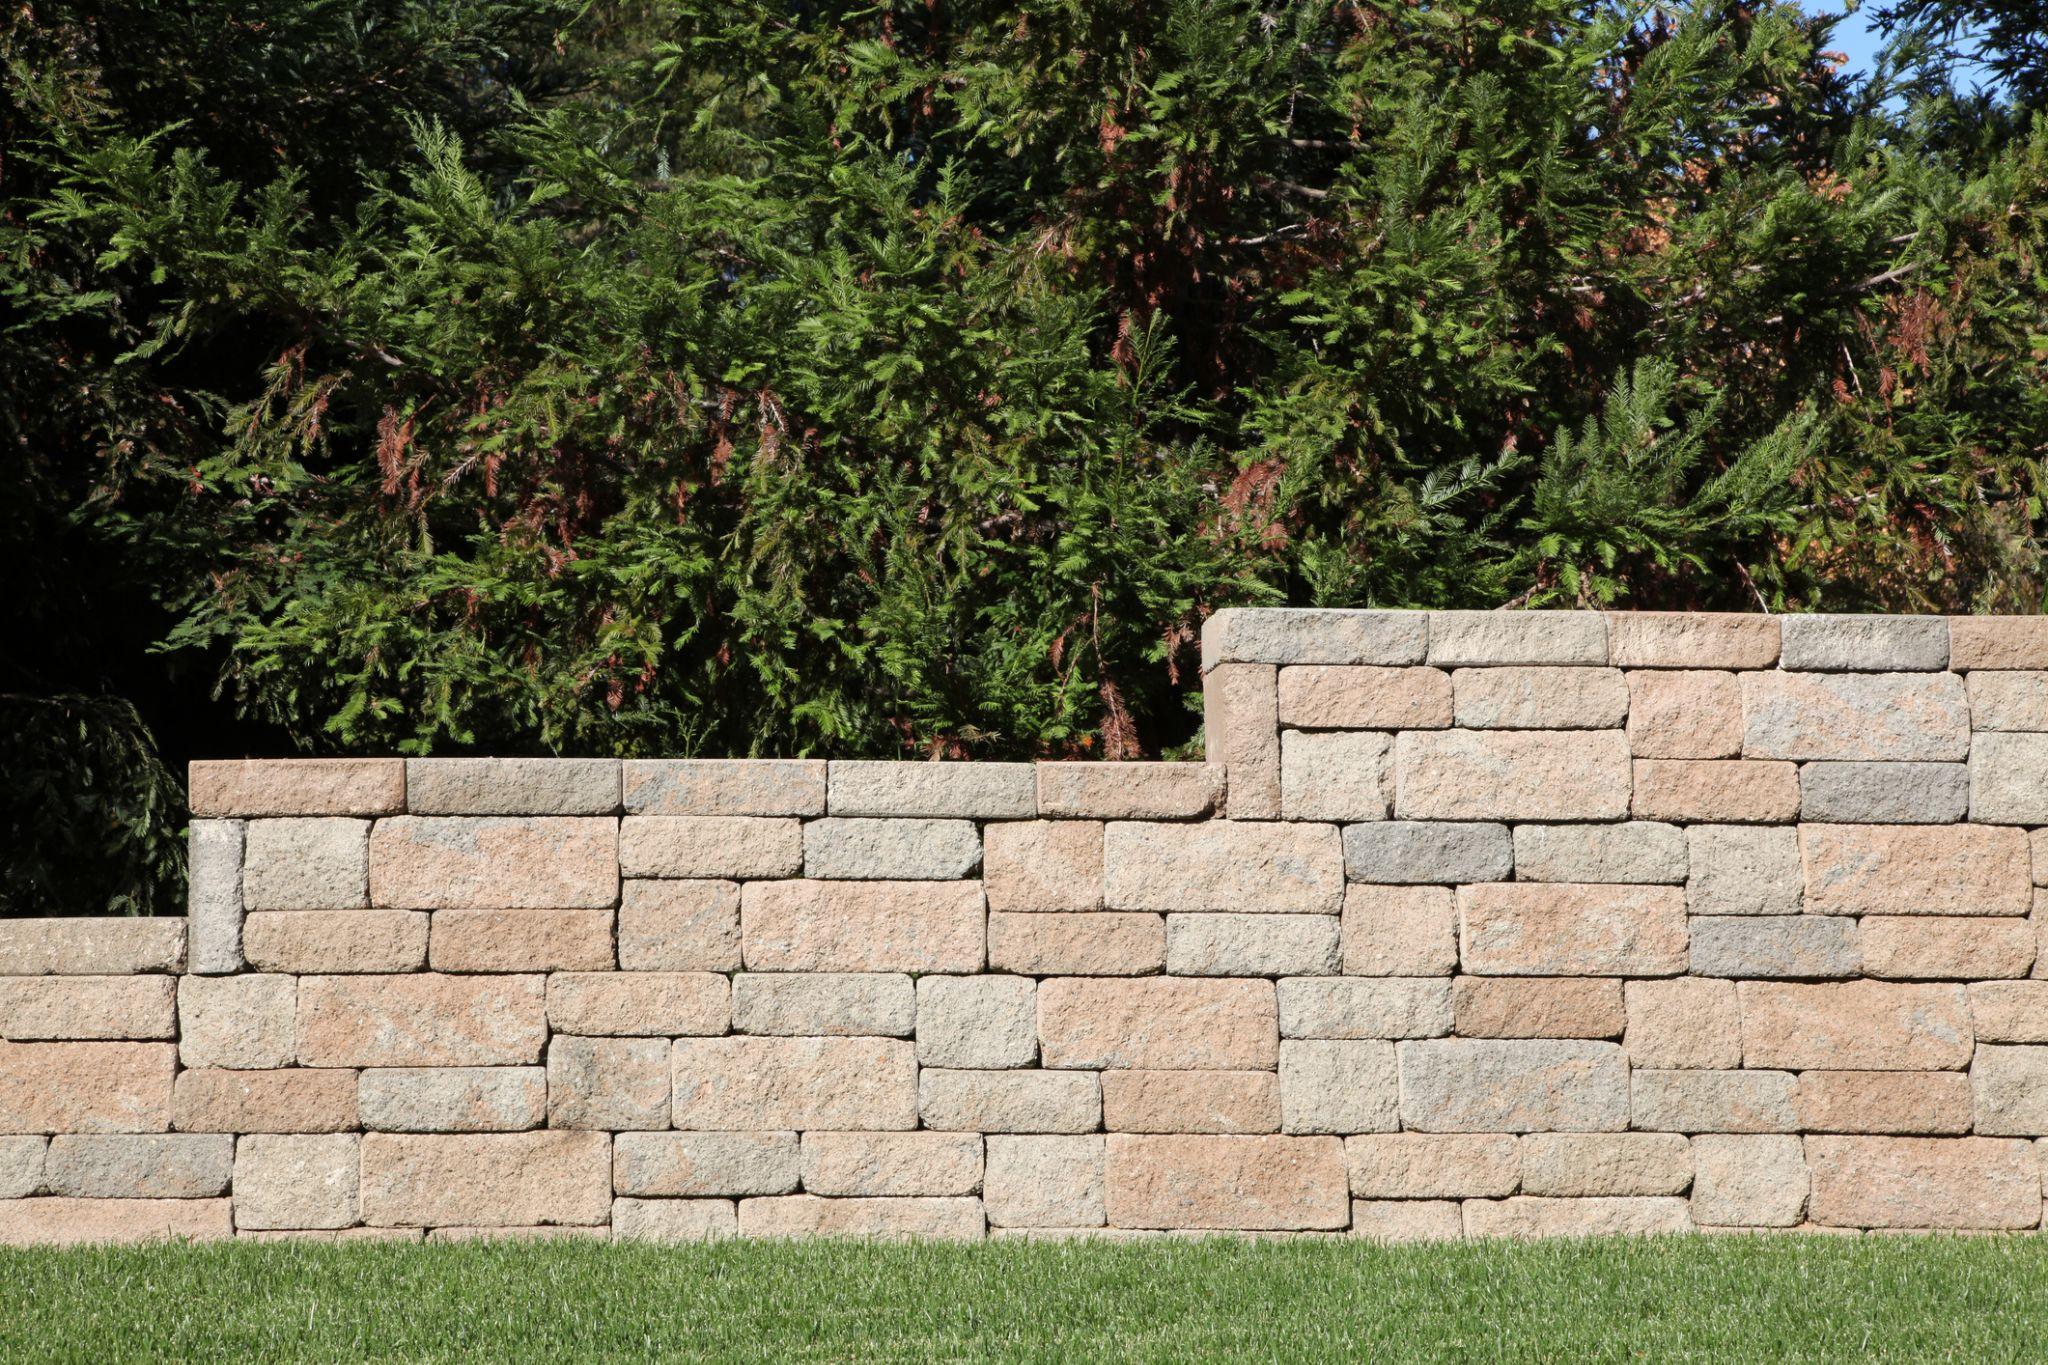
Segmental concrete block is the most common material for residential retaining wall projects in the St. Croix Valley — and for good reason. Modern segmental block systems are engineered specifically for freeze-thaw movement. They’re manufactured to tight tolerances, available in multiple finishes and colors, and cost-effective for walls of almost any height when installed correctly.
For concrete retaining wall design at heights over four feet, Wisconsin code generally requires an engineer’s review and stamp before work begins. Block walls installed to ICPI standards use the correct base depth and batter (backward lean) for the wall height and soil conditions. Willow River Company’s installers hold ICPI certification for segmental wall installation, which means the installation method is manufacturer-approved and specification-compliant, not improvised.
Natural Stone
Natural stone like fieldstone, limestone, and granite, offer visual warmth that block systems don’t match, and it integrates naturally into wooded St. Croix Valley lots. It’s the right choice for terraced garden walls, low decorative walls, and properties where the natural character of the stone complements the surrounding landscape.
The limitations: natural stone is more labor-intensive to install than block, and dry-laid stone walls (without mortar) depend entirely on excellent drainage behind them to prevent frost heave. Without the interlocking geometry of a segmental block system, dry-laid walls are more vulnerable to freeze-thaw movement if drainage is inadequate. For structural walls over three to four feet, natural stone typically requires engineering.
Poured Concrete / Concrete Masonry Unit (CMU)
Poured concrete and CMU walls are used for taller, more heavily loaded applications — commercial retaining structures and large-scale residential walls where height and load exceed what segmental block is appropriate. These require drainage management and, in some Wisconsin applications, thermal insulation to mitigate freeze-thaw effects on the wall face. If your project requires a wall of this type, your contractor should be engaging a structural engineer from the design phase forward.
Step 3: Design the Drainage Behind the Wall (This Is the Most Important Step)
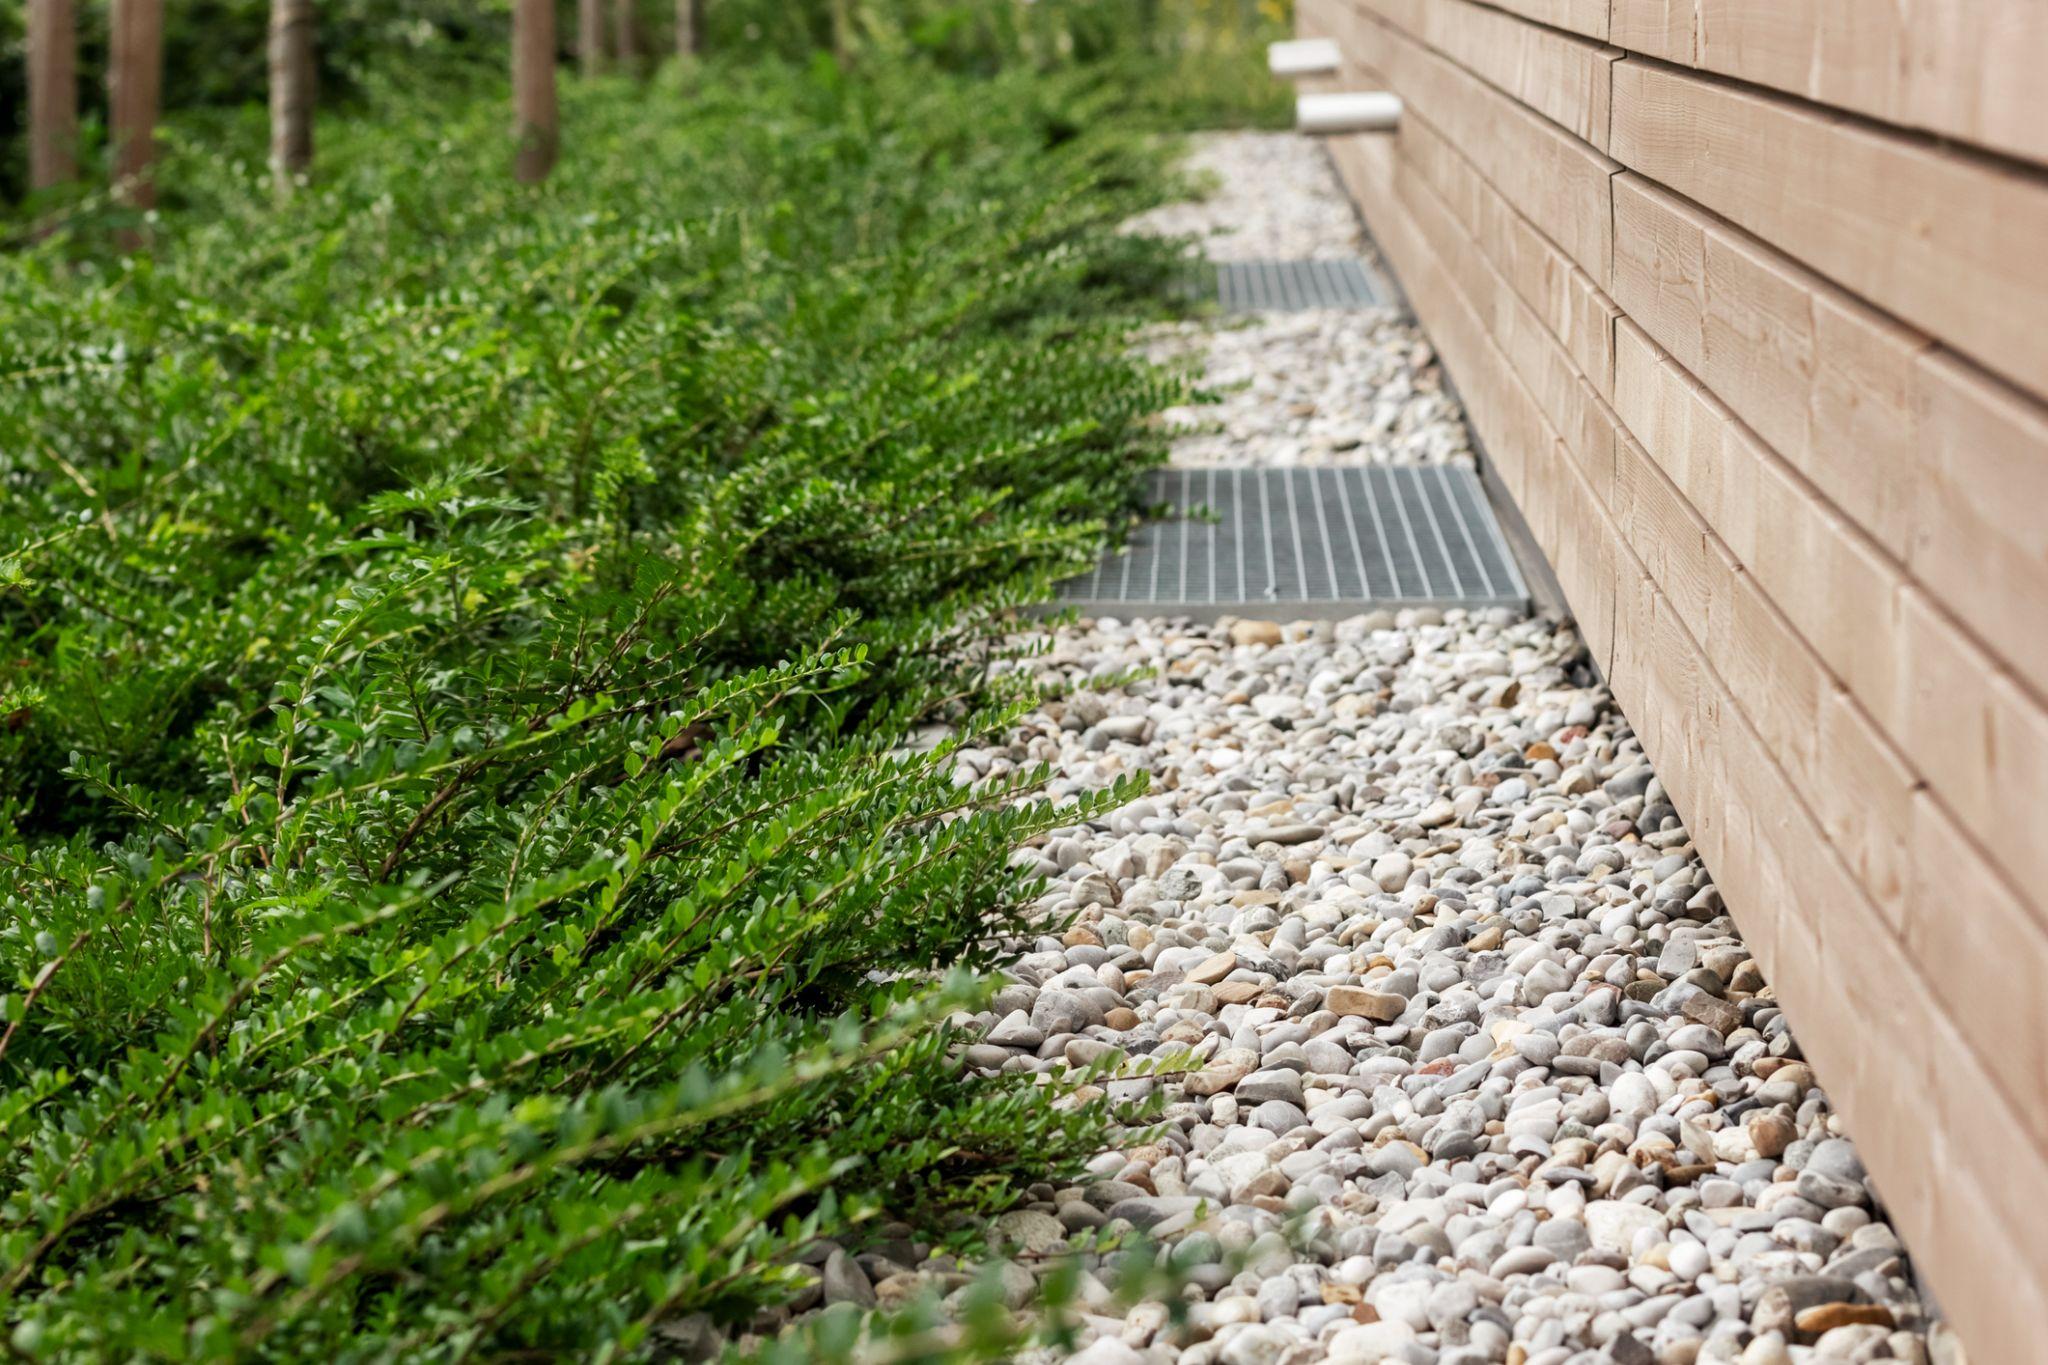
This is why most wall failures in Wisconsin occur. Hydrostatic pressure is the force that water exerts against a wall as it accumulates in the soil behind it. In sandy soil, water drains away relatively quickly, and pressure is limited. In the clay-heavy soils common across the St. Croix River Valley, water drains slowly, saturates the soil, and exerts sustained outward pressure against anything in its path. Add Wisconsin’s freeze-thaw cycle — where that saturated soil freezes, expands in volume, then thaws and contracts — and you have a mechanical force acting on the back of the wall every winter, repeatedly, for the life of the structure.
A wall built without addressing this will fail. The timeline depends on wall height and soil conditions, but walls with inadequate drainage commonly show tilting, cracking, or bulging within five to eight years, even when the visible installation looks correct.
The drainage system for a properly designed retaining wall in Wisconsin has three components:
- Crushed stone aggregate backfill. The soil immediately behind the wall — typically 12 to 24 inches, depending on wall height — is replaced with clean crushed stone (¾-inch clean crushed limestone or equivalent). Unlike clay soil, crushed stone drains freely and doesn’t hold water against the wall face.
- Perforated drain pipe at the wall base. A perforated pipe set at the base of the wall, within the crushed stone backfill, collects water that moves through the aggregate and directs it away from the wall to a daylight outlet or drainage structure. This is not optional — it is the primary mechanism for managing hydrostatic pressure.
- Drainage outlets through the wall face. Weep holes in CMU walls, or designed openings in segmental block systems, allow any water that reaches the wall face to exit rather than build up under pressure. These must be specified at the design stage and built in during installation. They cannot be added to a finished wall.
The drainage design must be completed before the wall is built. This is why designing a retaining wall and building it in sequence, with a contractor who understands both, produces a fundamentally different result than a lowest-bid installation.
Step 4: Know Wisconsin’s Rules on Retaining Wall Height and Permits
In Wisconsin, retaining walls over four feet in height generally require a licensed engineer to review and stamp the design before a permit is issued. Some municipalities in St. Croix County have lower thresholds — walls as short as three feet may require review depending on location, soil conditions, and proximity to structures or property lines.
In Hudson, WI specifically, homeowners should contact the City of Hudson Building Department before beginning any retaining wall project. The permit application typically involves a site plan showing the wall location and dimensions, a cross-section drawing showing base depth and drainage detail, and, in many cases, a drainage plan. Your contractor pulls the permit, not the homeowner, and is the party of record responsible for building to the approved plan.
Willow River Company handles permit coordination as part of the design-build process. The homeowner provides access and approves the design; we manage the application, the review process, and the inspections. This is standard for a licensed contractor and should be expected.
Step 5: Design the Wall as Part of the Landscape, Not an Afterthought
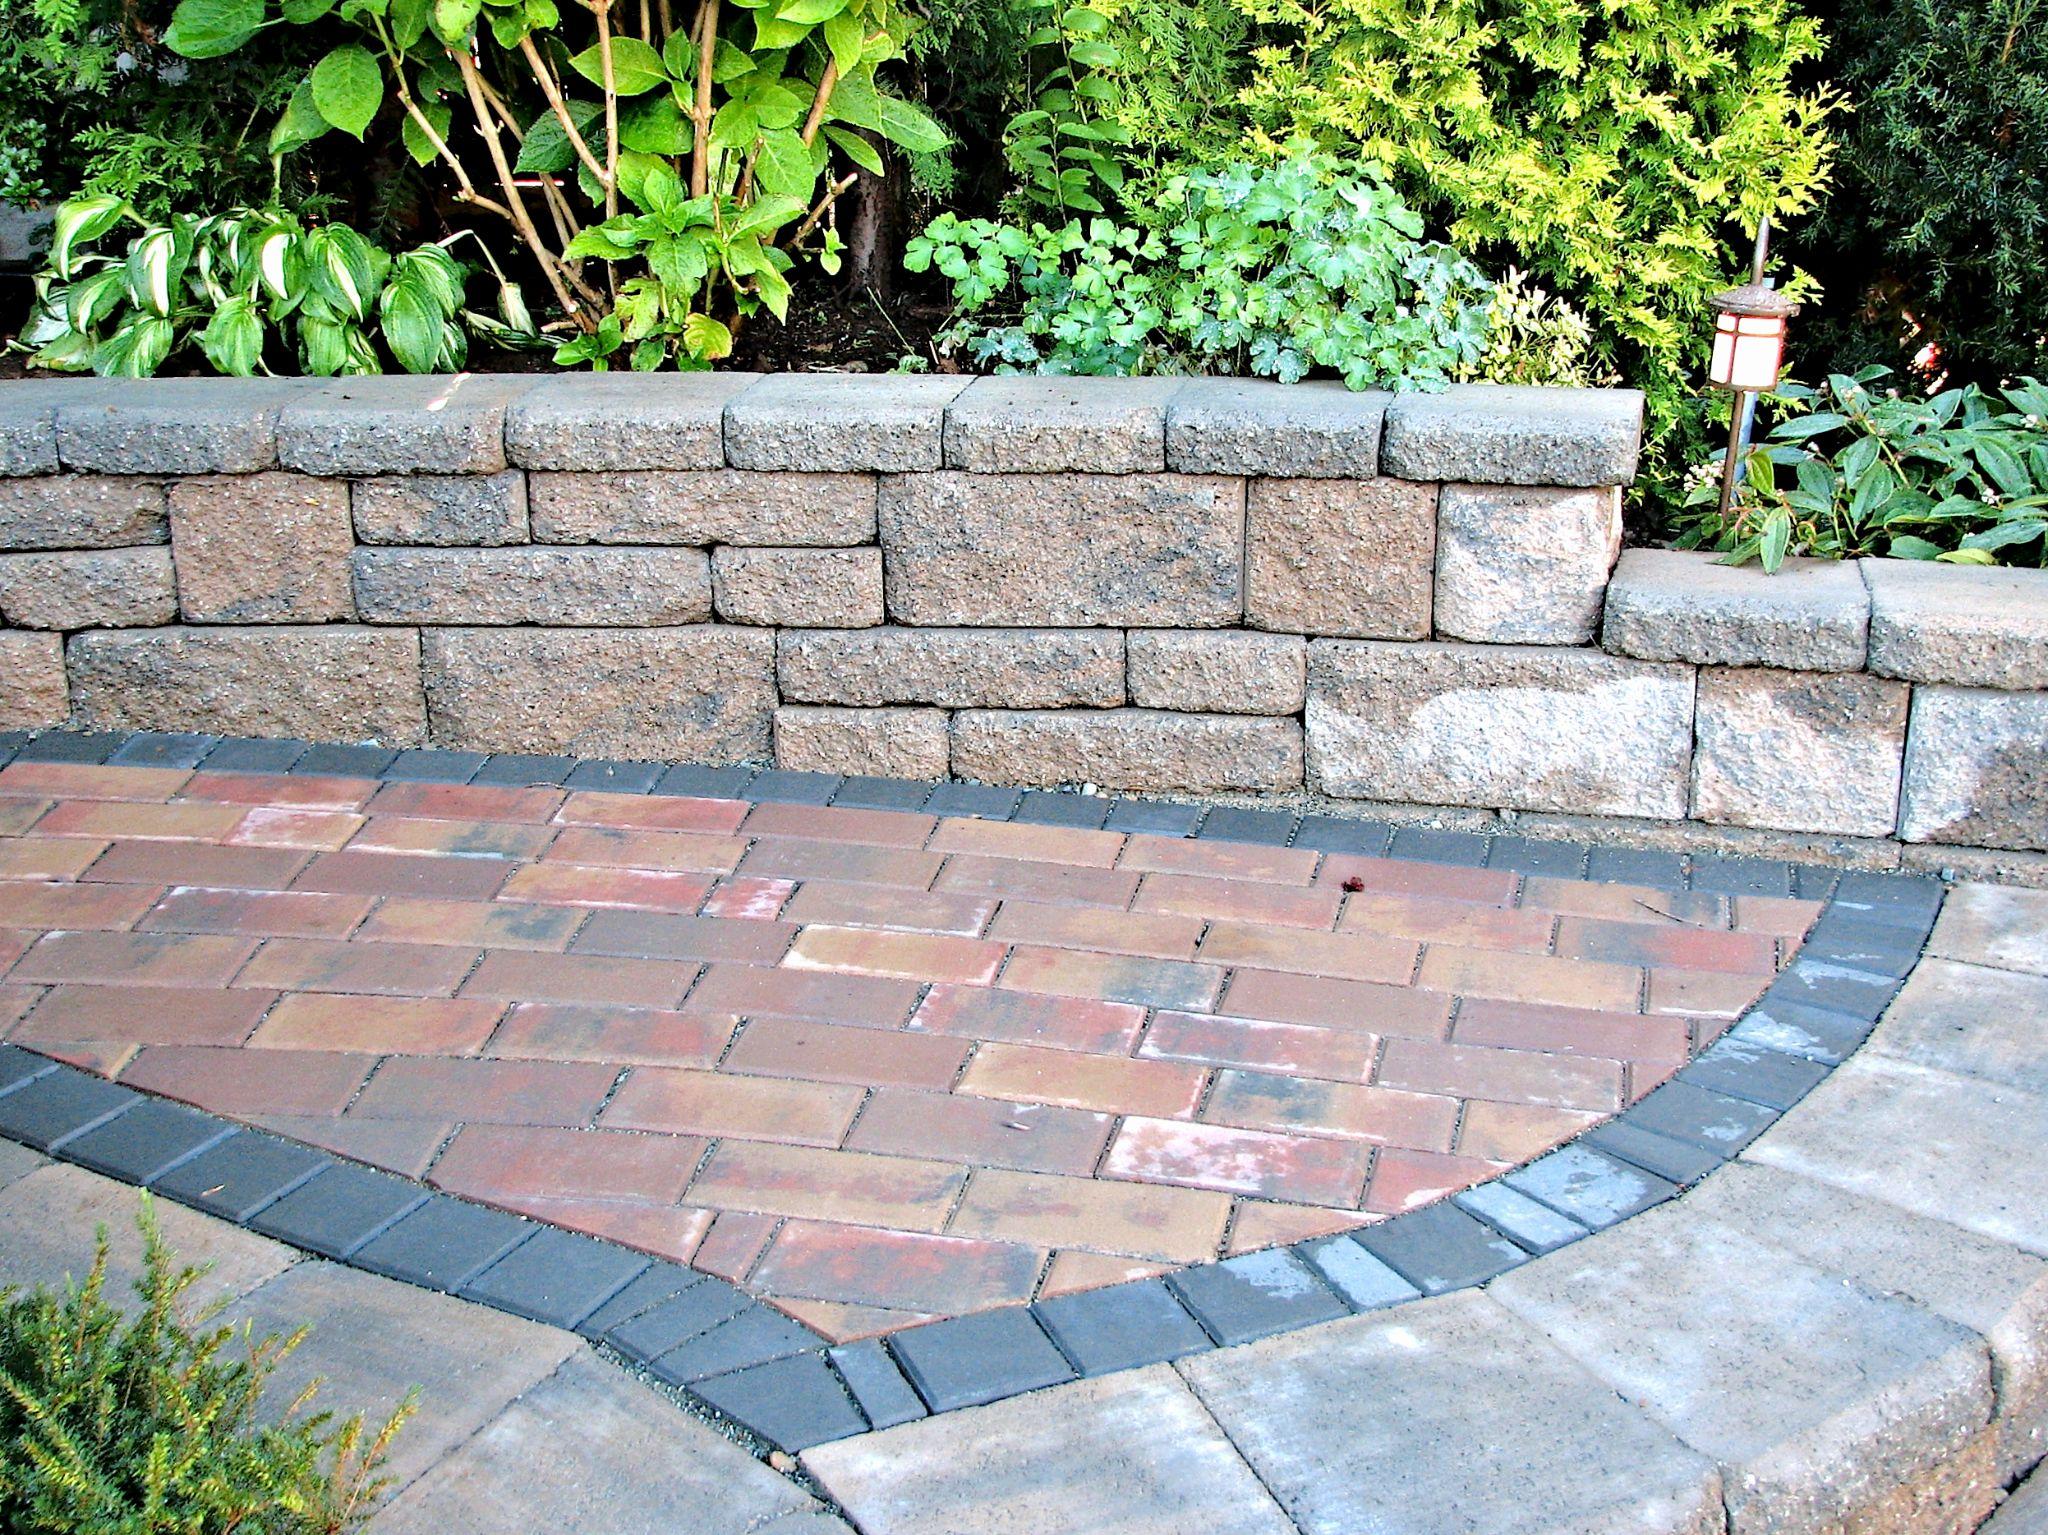
A retaining wall that looks like a wall is a missed opportunity. A retaining wall designed as part of the landscape creates something different: terraced outdoor space, integrated planting, defined pathways, and a structure that reads as intentional rather than remedial.
The design elements that elevate a functional wall into a landscape feature include:
- Integrated steps and pathways that move people through the grade change naturally rather than around it
- Planting pockets built into the wall face for groundcovers and low perennials
- Cap selection at the wall top that relates to the surrounding hardscape
- Low-voltage lighting integrated at the design stage, not clamped on afterward
For properties with multiple grade changes, a tiered wall system is often more visually successful and structurally sound than a single tall wall. The planted terraces reduce the load on each individual wall and break up what would otherwise be a vertical face of block. Among the most versatile backyard designs with retaining walls are these multi-tiered systems, which are particularly well-suited to the sloped St. Croix Valley lots where a single Wisconsin retaining wall tall enough to handle the full grade change would require heavy engineering.
Plants That Work With Retaining Walls in Wisconsin
Planting at and around a retaining wall requires selecting species that tolerate well-drained, sometimes dry conditions (wall faces drain aggressively) and that don’t have root systems that will compromise the wall structure over time. The following all perform well in St. Croix Valley conditions:
- Creeping phlox (Phlox subulata) — low-growing groundcover that cascades attractively over wall faces; full sun; excellent for the top cap zone.
- Prairie dropseed (Sporobolus heterolepis) — fine-textured native grass, full to part sun, extremely drought-tolerant once established; ideal for planting pockets in the wall face or at the base.
- Karl Foerster feather reed grass (Calamagrostis × acutiflora ‘Karl Foerster’) — upright ornamental grass for the terrace behind a wall; holds its form through winter; provides structure when everything else is dormant.
- Sedum varieties (Sedum spp.) — fleshy groundcovers for wall caps and pockets; handles dry, well-drained conditions better than almost any other plant; multiple species available at varying heights.
- Native ferns (Athyrium filix-femina, Dryopteris spp.) — for shaded wall faces on north-facing slopes or under mature tree canopy; tolerates clay-adjacent soil; provides lush texture in conditions where little else thrives.
What a Retaining Wall Project Looks Like With Willow River Company
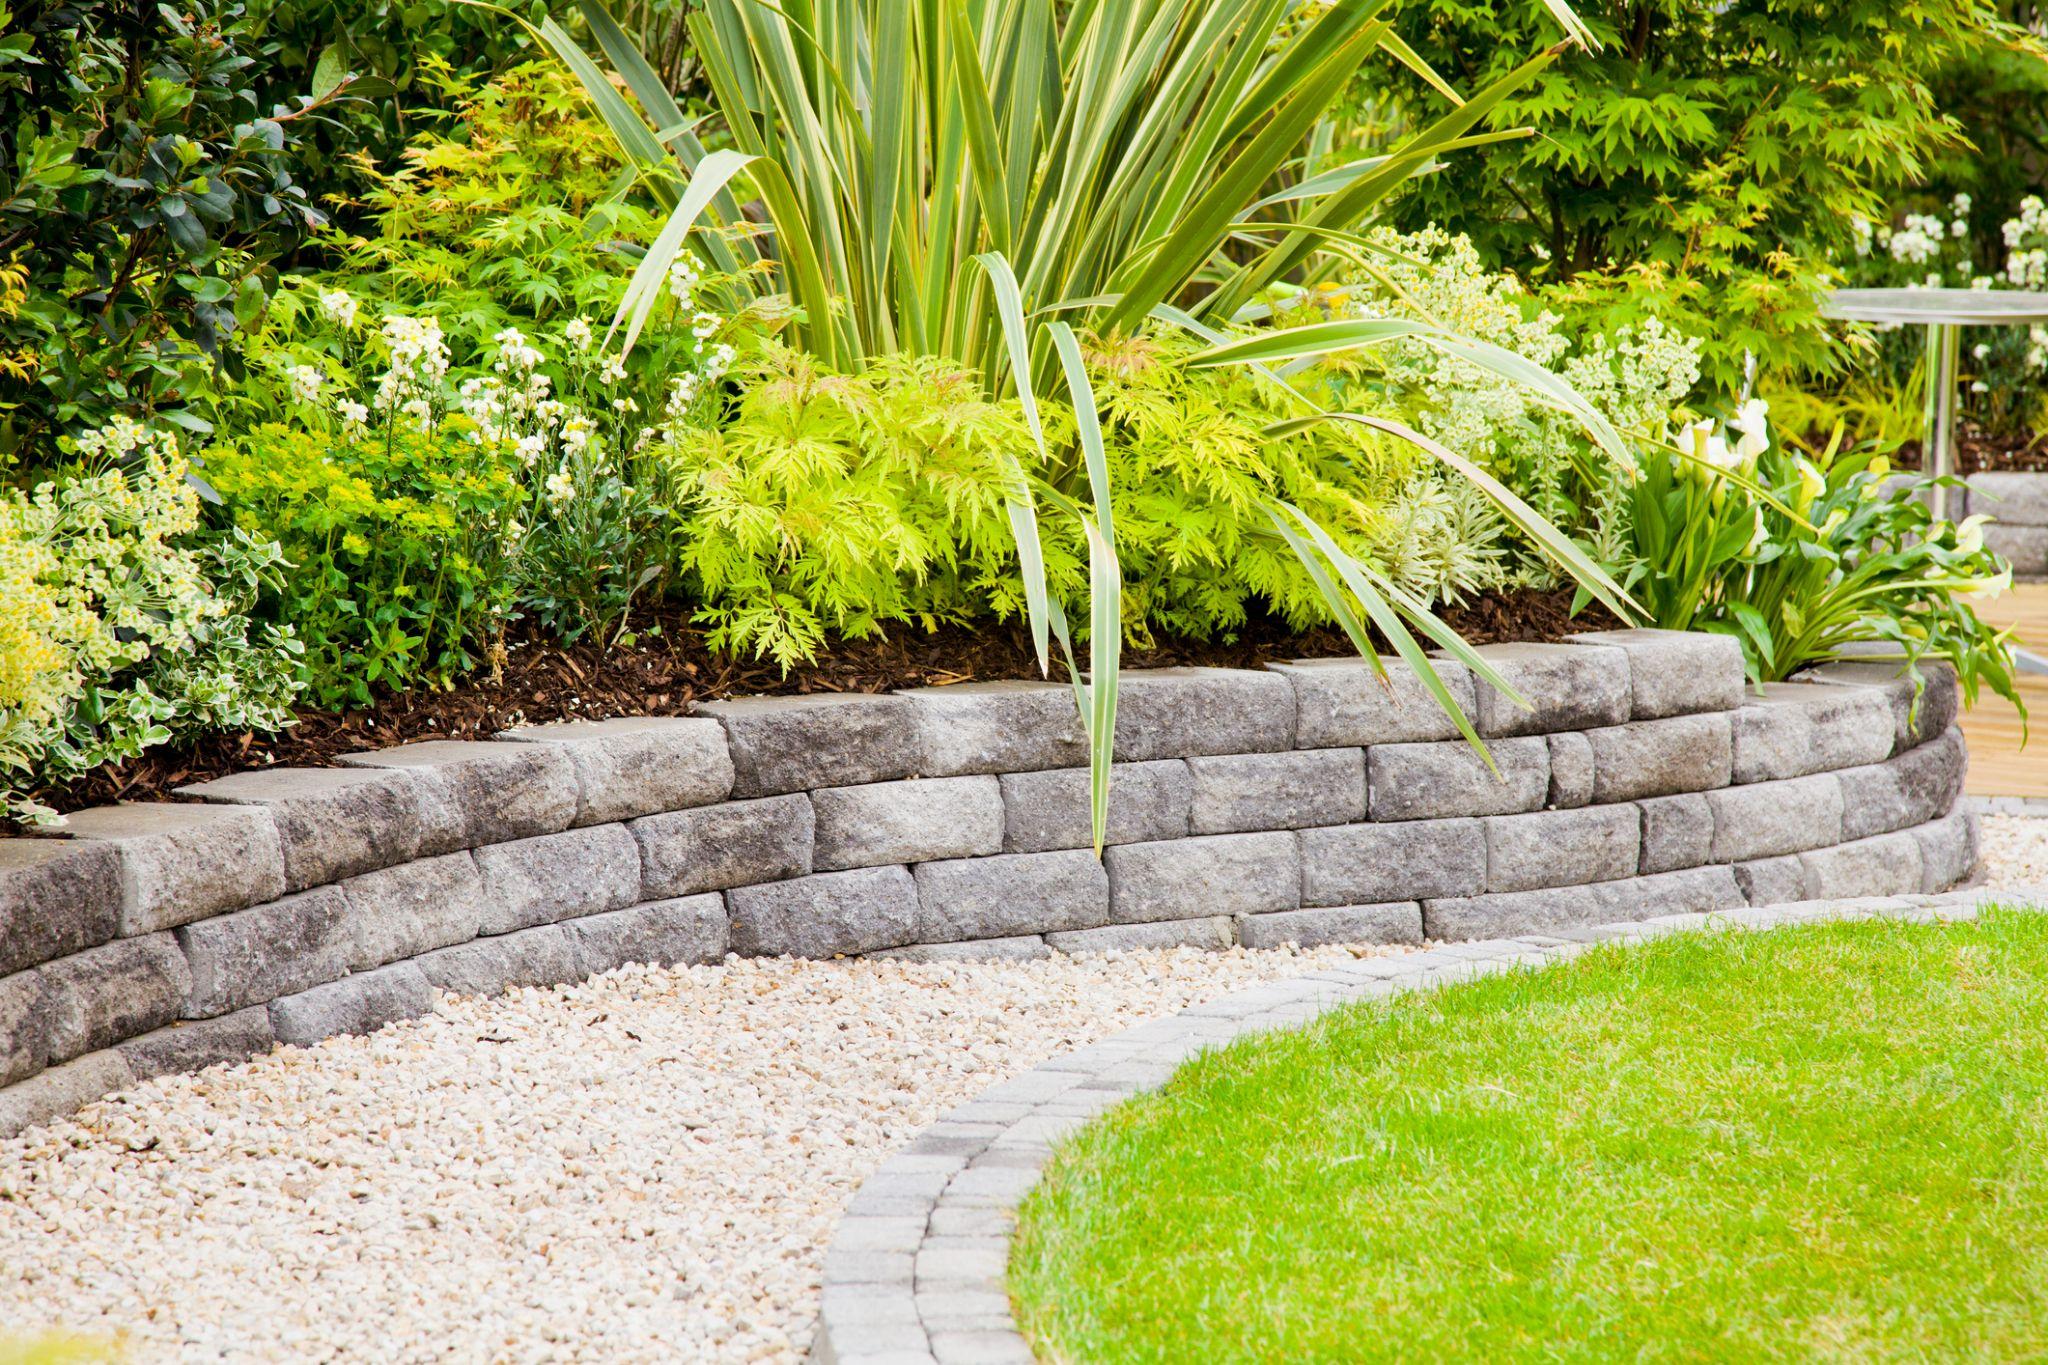
Every retaining wall project at Willow River Company begins the same way: a site visit before any design begins. We walk the slope, assess drainage and soil conditions, discuss what the homeowner wants to accomplish, such as more usable space, stopped erosion, and a specific aesthetic to establish what the site actually requires. Whether the project calls for simple landscape retaining walls along a garden border or a full St. Croix Valley landscape construction project with tiered walls, steps, and integrated outdoor living, the assessment process is the same.
From there, our design team develops a wall proposal with a rendering showing the finished installation. Material selection happens at our on-site nursery and materials yard, where you see the actual block, stone, and cap options before committing to anything. We coordinate permits with the relevant municipality and provide a comprehensive project timeline before construction begins.
Our hardscape installations are performed by ICPI-certified installers. After installation, we walk you through the completed project, review plant care and any drainage maintenance requirements, and close out with a post-project inspection. If you’re ready to start planning your retaining wall project, contact us today to get started.
Tags: