
How to Design an Outdoor Living Space That Works in Wisconsin and Minnesota
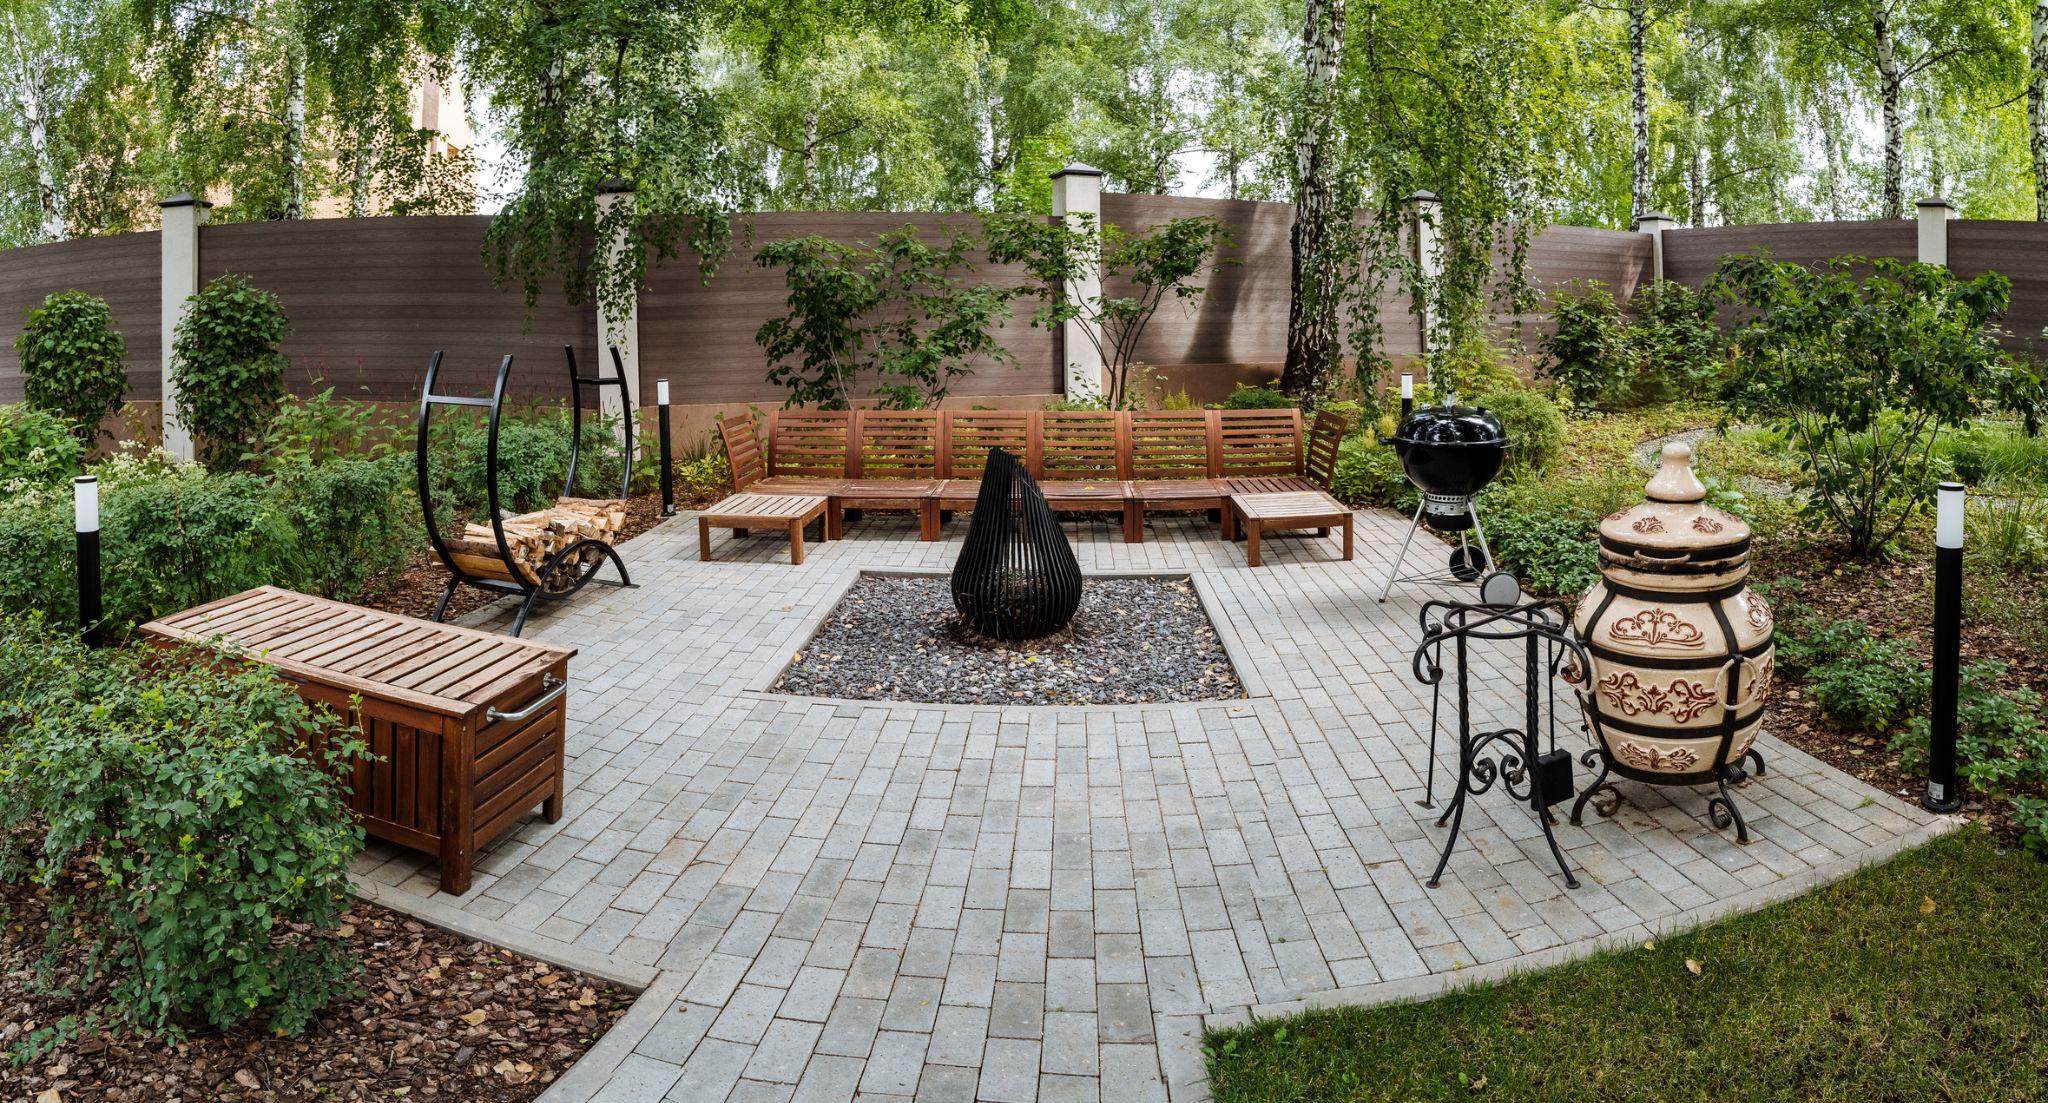
There’s a particular pressure that comes with designing an outdoor living space in the St. Croix River Valley. You have roughly five to six months of genuinely usable outdoor season, and during those months, you want that space working hard. That kind of intensity demands that every design decision be right from the start. This is the full guide to landscape design and build thinking applied to your outdoor space.
Unlike homeowners in warmer climates who can iterate over several years, Wisconsin and Minnesota homeowners face a harder constraint. The freeze-thaw cycle that defines winter and early spring in this region means retrofitting hardscape is expensive, disruptive, and often requires tearing out work that was done wrong the first time. Good outdoor living space design in the St. Croix River Valley is a planning exercise first, an installation exercise second.
Step 1: Define How You’ll Actually Use the Space
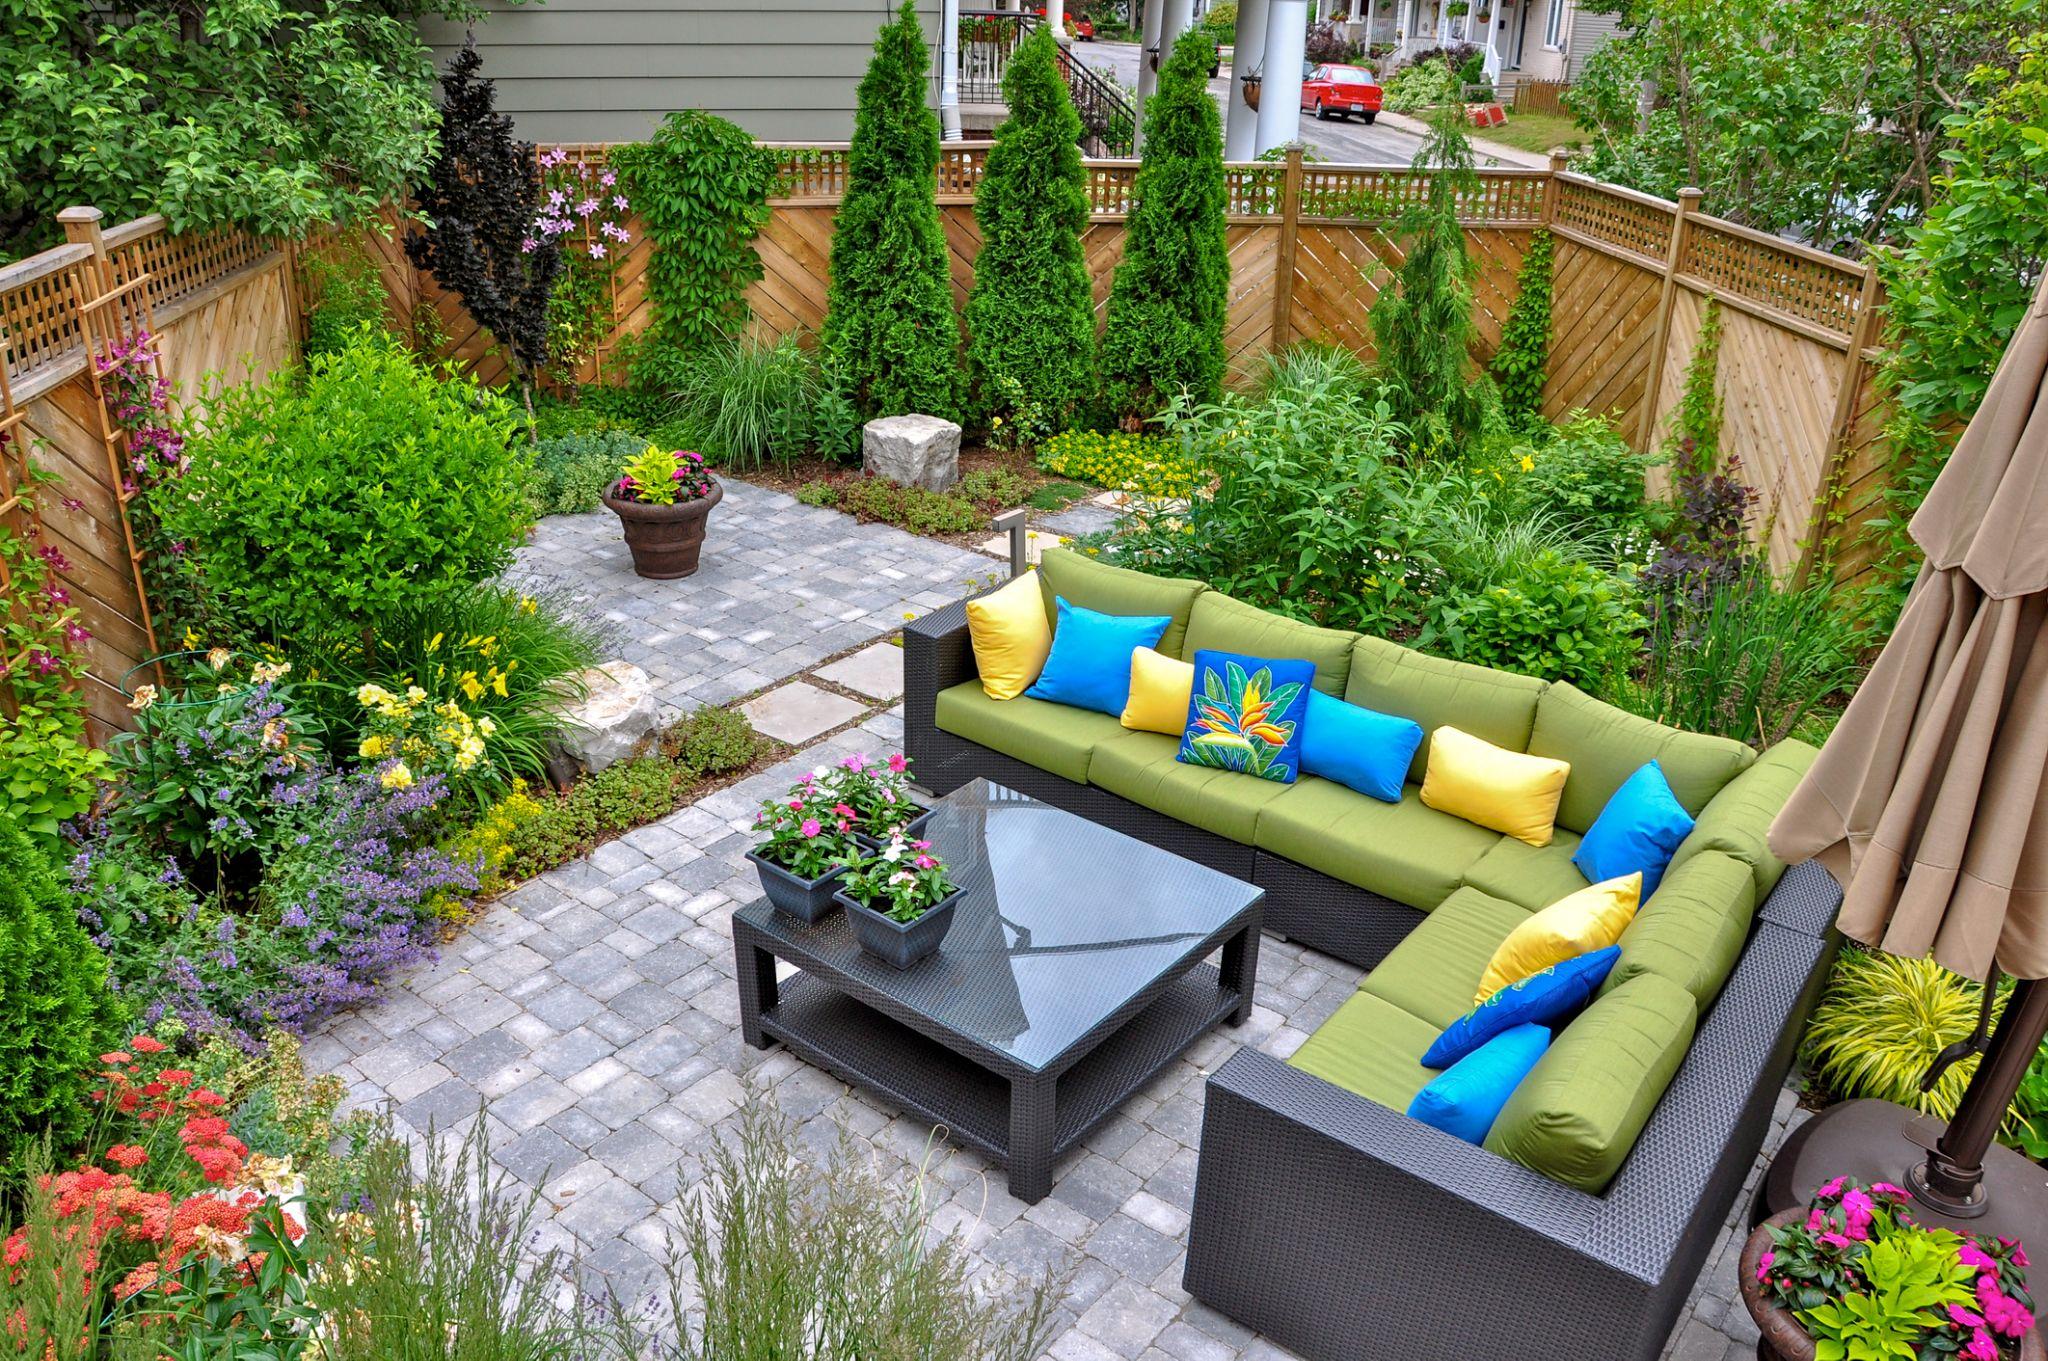
Before any design begins, work through a practical use-case audit. Not an aspirational one, a realistic one. Ask yourself: How often do you actually entertain? How many people, typically? Do you cook outside regularly, or is a grill just a nice-to-have? Do you want a fire feature you’ll use every weekend, or one that gets lit three times a year? Do you need shade? Do children or pets need room to move?
These questions matter because outdoor living space design is really zone allocation. A well-planned space has distinct areas: a cooking zone, a dining zone, a lounging zone, and a fire zone. Each of those zones needs intentional square footage, not whatever’s left over after the other zones are placed.
Design for the shoulder seasons, not just peak summer. That means thinking about where the afternoon sun hits in late September, where wind comes from in early May, and whether a shade structure blocks warmth at the times of year you actually need it.
The most common sizing mistake in backyard retreat ideas is underestimating square footage. A patio layout that looks generous on paper renders surprisingly small once a dining table, a grill station, and a fire table are placed on it with enough circulation space between them. This is exactly where 3D landscape design earns its value — by letting you see furniture at scale, in context, before any ground is broken.
Step 2: Select Hardscape Materials That Handle Cold Winters
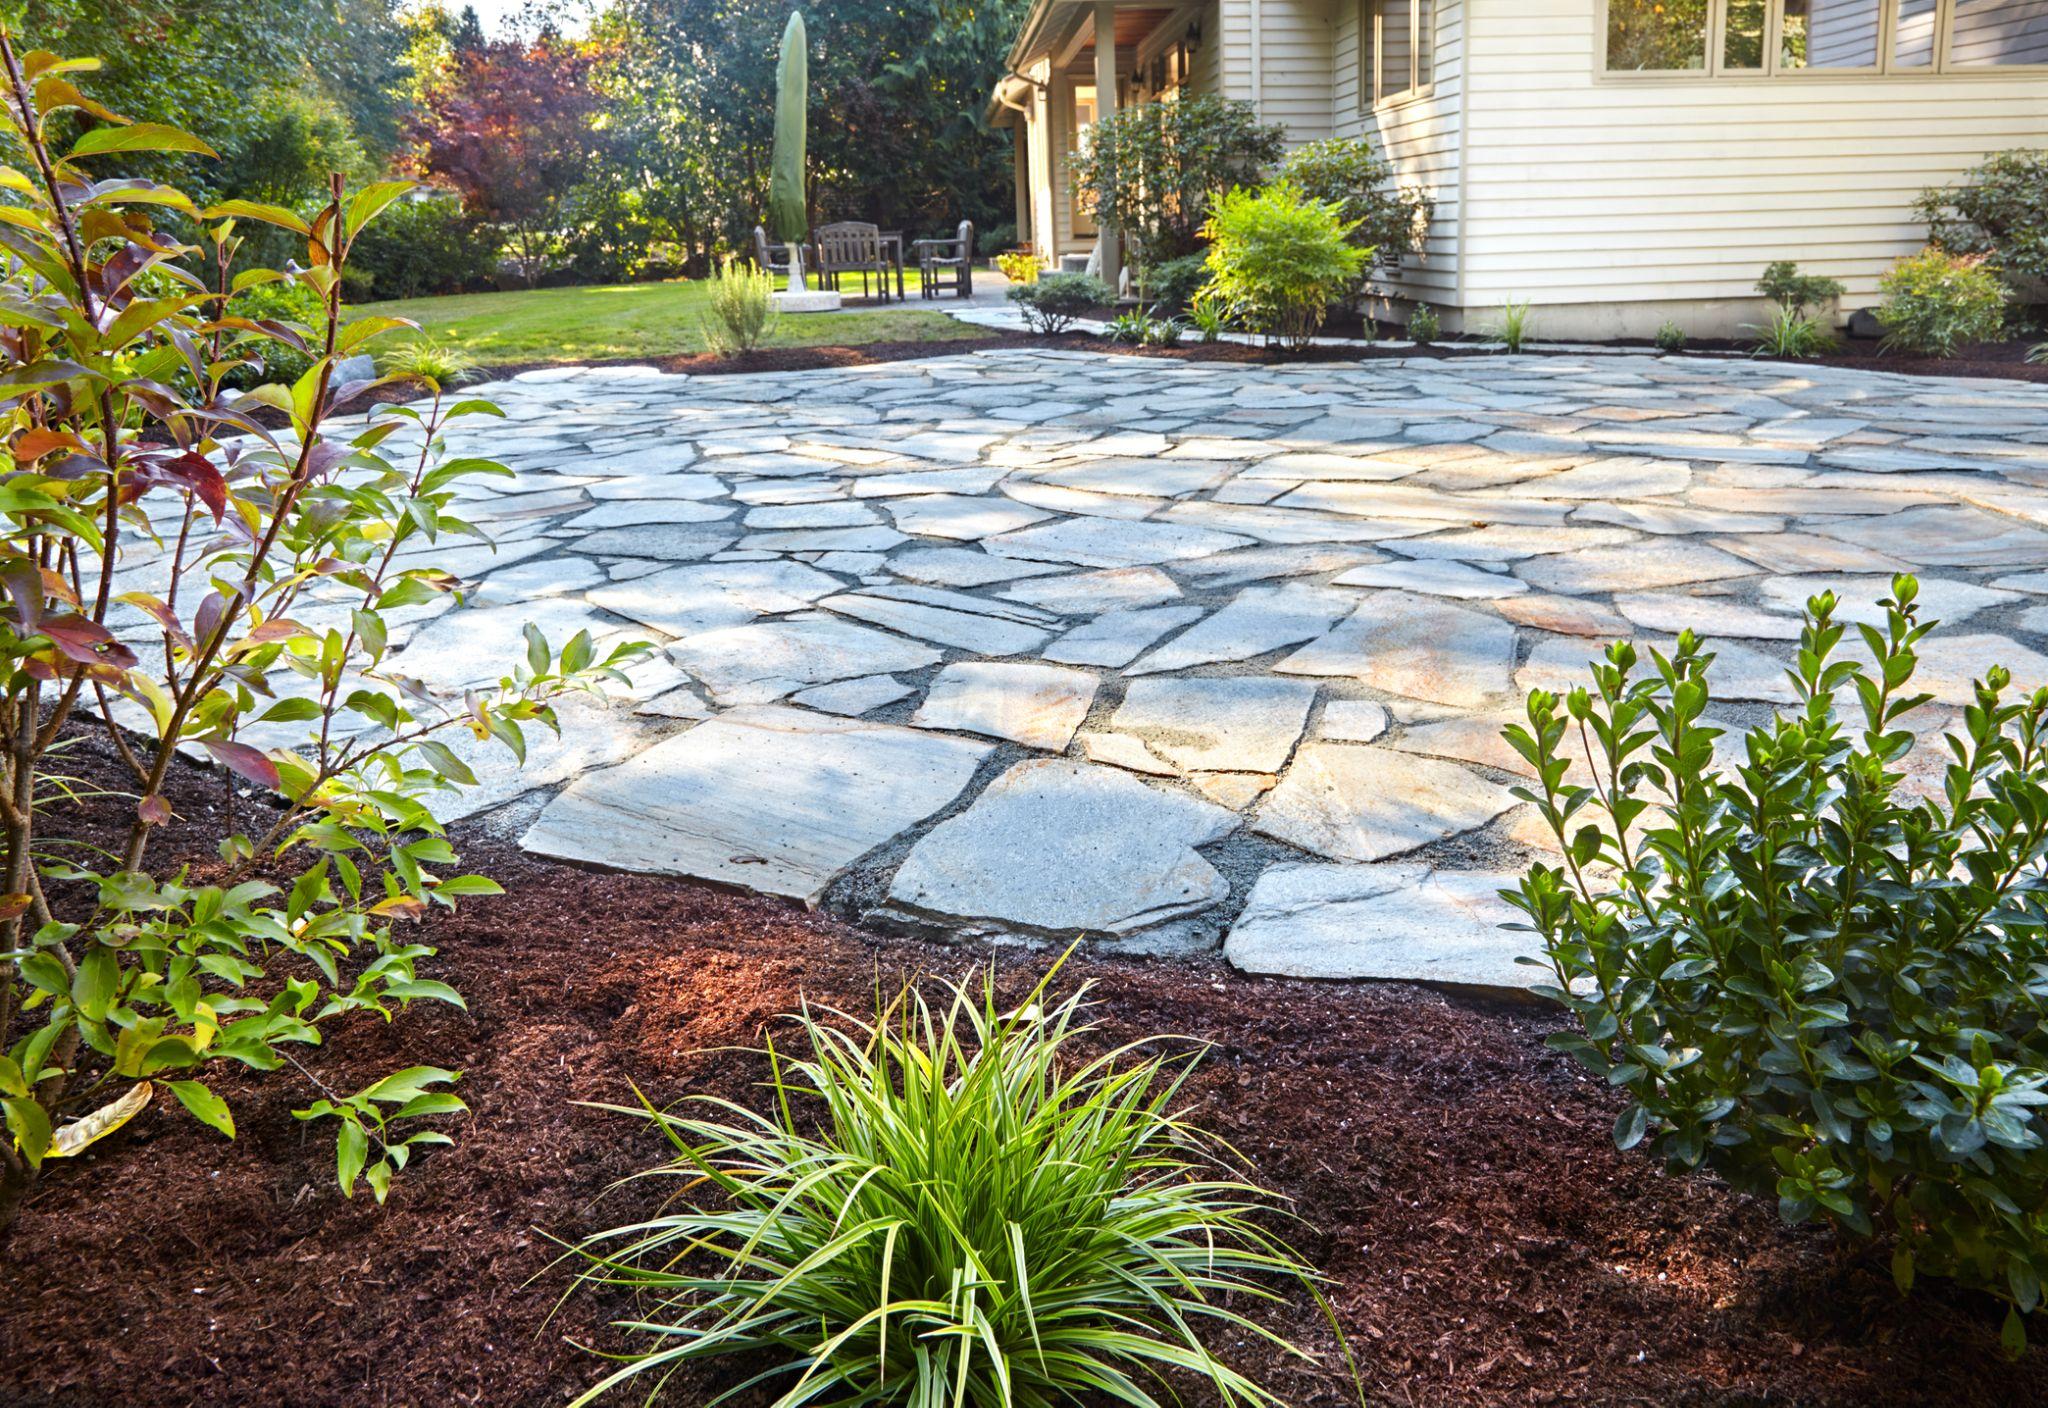
Material selection is where outdoor living space designs succeed or fail over the long term. What looks beautiful in a product photo can perform poorly after three Wisconsin and Minnesota winters. Willow River Company’s outdoor living services are grounded in regional experience and hands-on knowledge of what performs in this climate. Here are some of the materials we commonly work with across patios, outdoor kitchens, fire features, shade structures, and more:
Patio Surfaces
- Concrete pavers are the most popular choice in the St. Croix River Valley, and for good reason. ICPI-rated pavers are manufactured to handle freeze-thaw cycling, and because they’re segmental — individual units rather than a continuous slab — they can accommodate minor ground movement without cracking. A paver patio done right, on a proper base, will outlast most poured concrete work in this climate.
- Poured concrete can work, but it requires precise joint spacing and excellent base preparation to resist frost heave. Improperly prepared poured concrete in Wisconsin often begins cracking within five to ten years.
- Natural stone is beautiful and performs variably. Granite and bluestone handle freeze-thaw well. Some limestone and sandstone varieties spall — the surface breaks apart in sheets — after repeated freezing and thawing. If you want natural stone, know what you’re getting before you commit.
- Composite decking for elevated decks adjacent to the house performs well when specified correctly: hidden fasteners, freeze-rated boards, and proper ventilation underneath.
Regardless of surface choice, the base preparation is as important as the surface itself. A paver patio in Wisconsin requires a compacted aggregate base of typically 6–8 inches to get below the active frost zone. Get that wrong and no surface material will save you. Per guidance from the University of Wisconsin Extension, frost depth in this region requires careful attention to base depth in any paved outdoor installation.
Outdoor Kitchen and Fire Feature Materials
Built-in outdoor kitchen components:
- Powder-coated stainless steel for appliances (not painted or raw steel, both of which fail in Wisconsin winters)
- Natural stone or poured concrete countertops (avoid ceramic tile with grout joints outdoors — grout fails in freeze-thaw cycles)
- Concrete block or stone veneer bases for cabinet structures
Fire features:
- Gas fire tables and built-in gas fire bowls are a practical choice in this climate — they light in October and early November without the firewood management of a wood-burning setup
- Wood-burning fire features require setbacks from structures per Wisconsin and local municipal code, so factor that into your zone plan
- Use materials rated for repeated thermal cycling
Outdoor kitchens and fire features take more abuse from the elements than any other part of the landscape. Getting the materials right from the start is what separates a space that holds up from one that needs to be rebuilt.
Shade Structures
Pergolas built from cedar or composite materials perform well in this climate. Avoid pressure-treated pine for exposed decorative elements because it weathers unevenly and checks (develops surface cracks) more aggressively than cedar. Post footings for any pergola must extend below the frost line, which in the St. Croix River Valley is typically 48–60 inches.
Pavilions offer more weather protection than pergolas and extend usable shoulder-season time meaningfully. A structurally attached pavilion may require a building permit in Hudson and surrounding municipalities; confirm this before design is finalized. Information on City of Hudson building permits is available through the city’s official site.
Step 3: Design for Drainage First
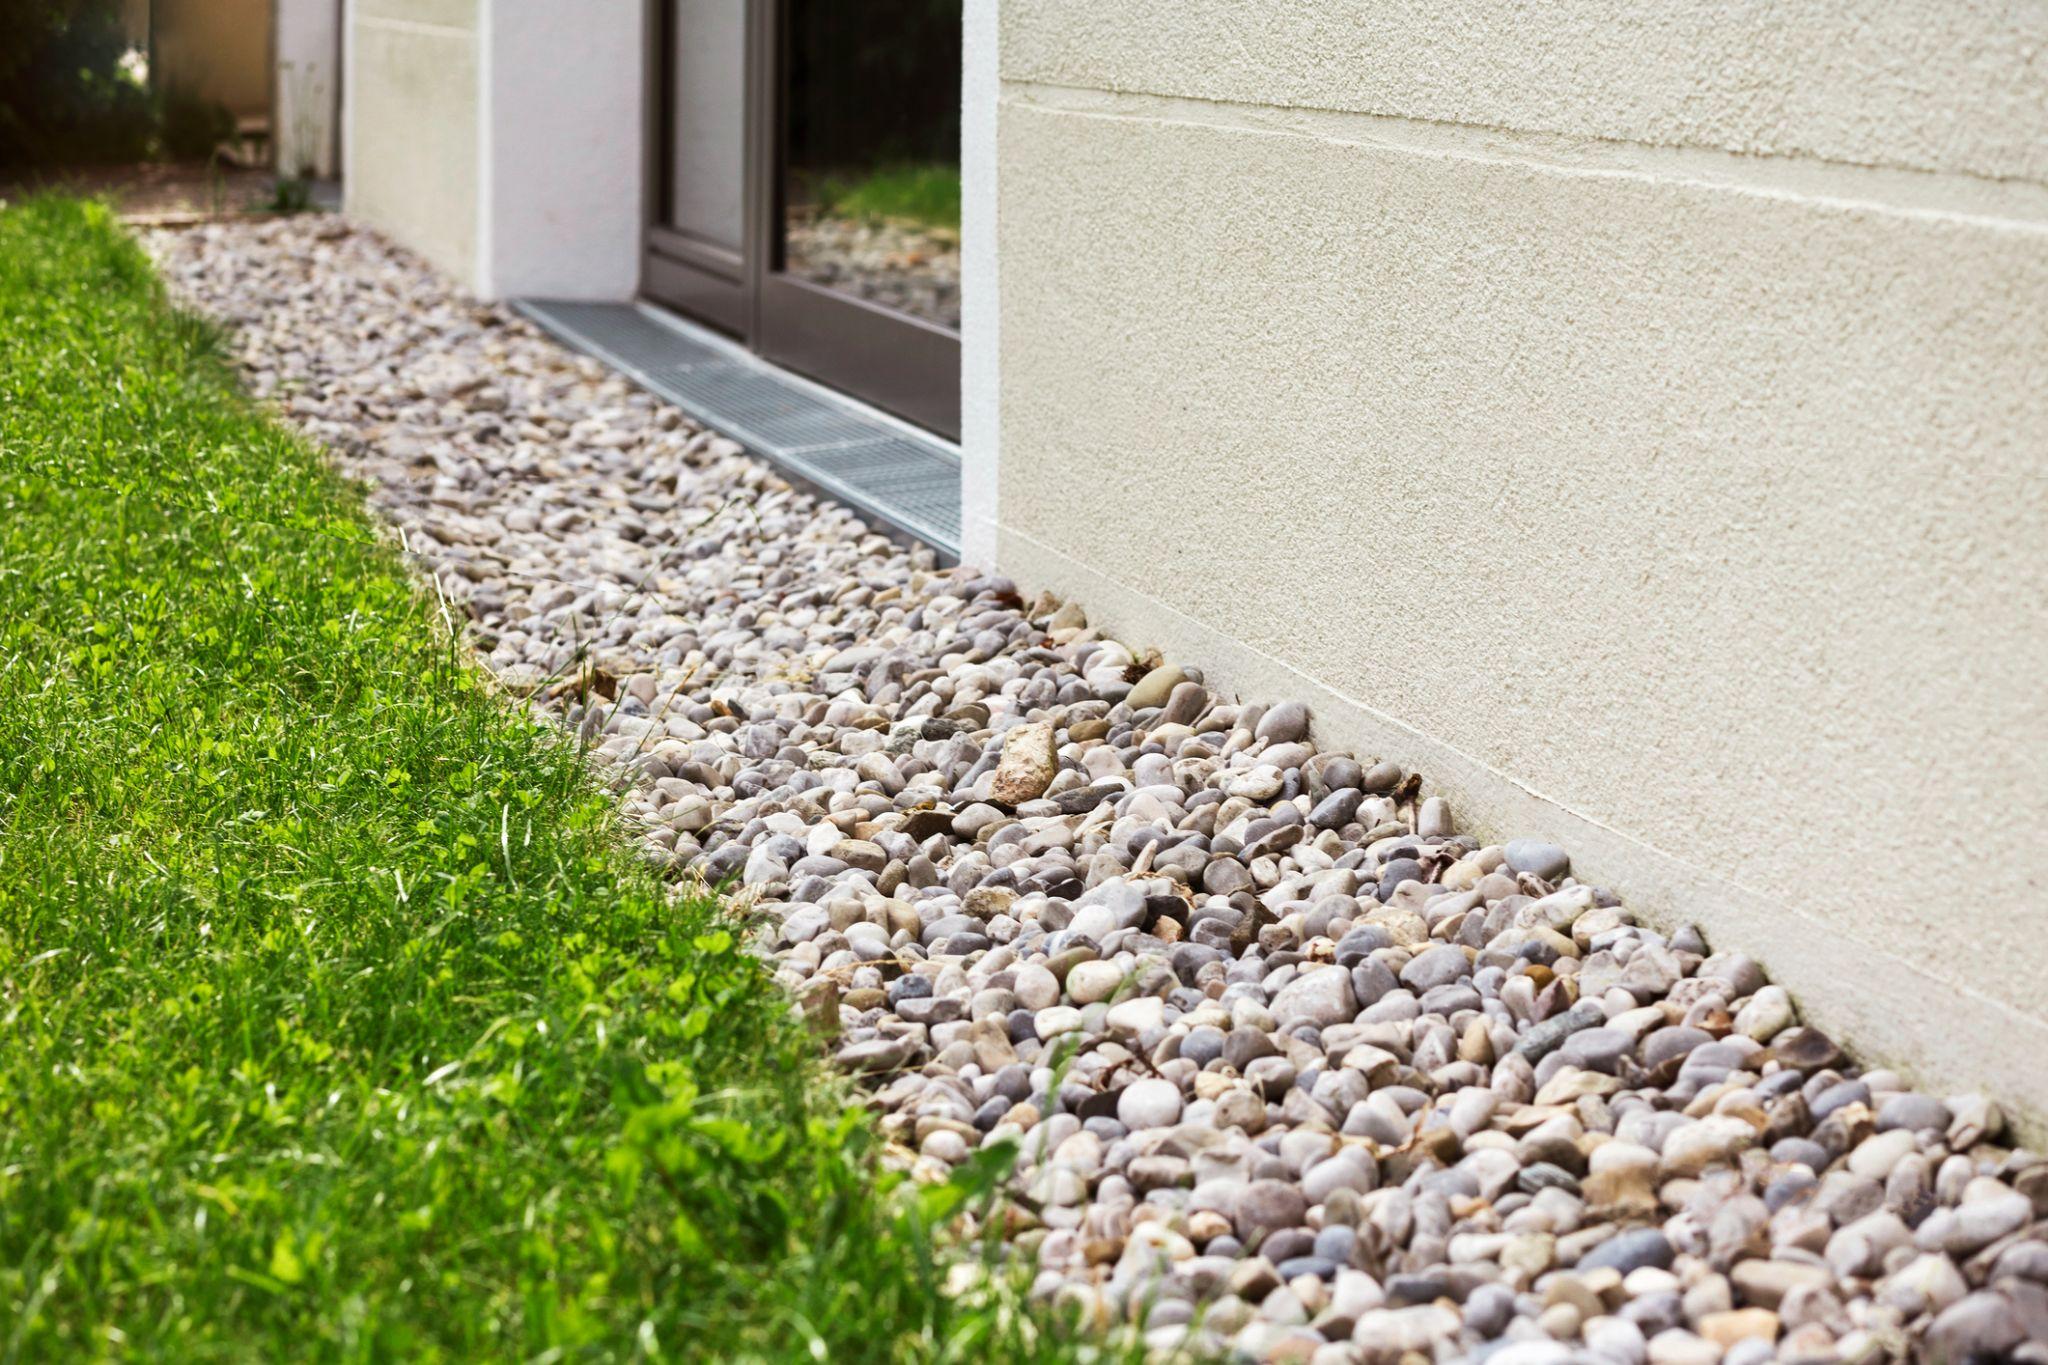
Here is the concept before the technical term: water runs downhill. If your patio is flat or tilts toward your house, rain and snowmelt collect against your foundation. In the St. Croix River Valley’s clay-heavy soils, even a modest patio can create a water management problem that damages your house’s foundation over time if the grade is wrong.
Every paved outdoor surface must slope away from the house at a minimum of 1% grade, with 2% preferable. It’s a design requirement that has to be established before the surface material is chosen, because the slope determines the finished elevation at the house and the layout of the entire patio.
Drainage is designed first, not retrofitted. You choose your patio material after you’ve established the drainage grade, not before.
For larger spaces, area drains and slot drains are often needed to manage water that the surface slope alone can’t handle, particularly where a patio meets a lawn area or where two patio surfaces meet at a low point. Well-designed area drains integrate into the hardscape aesthetically; they don’t have to look utilitarian. Your outdoor living space designer should be planning drain placement as part of the initial layout, not adding them as an afterthought.
Step 4: Create Zones That Flow Naturally
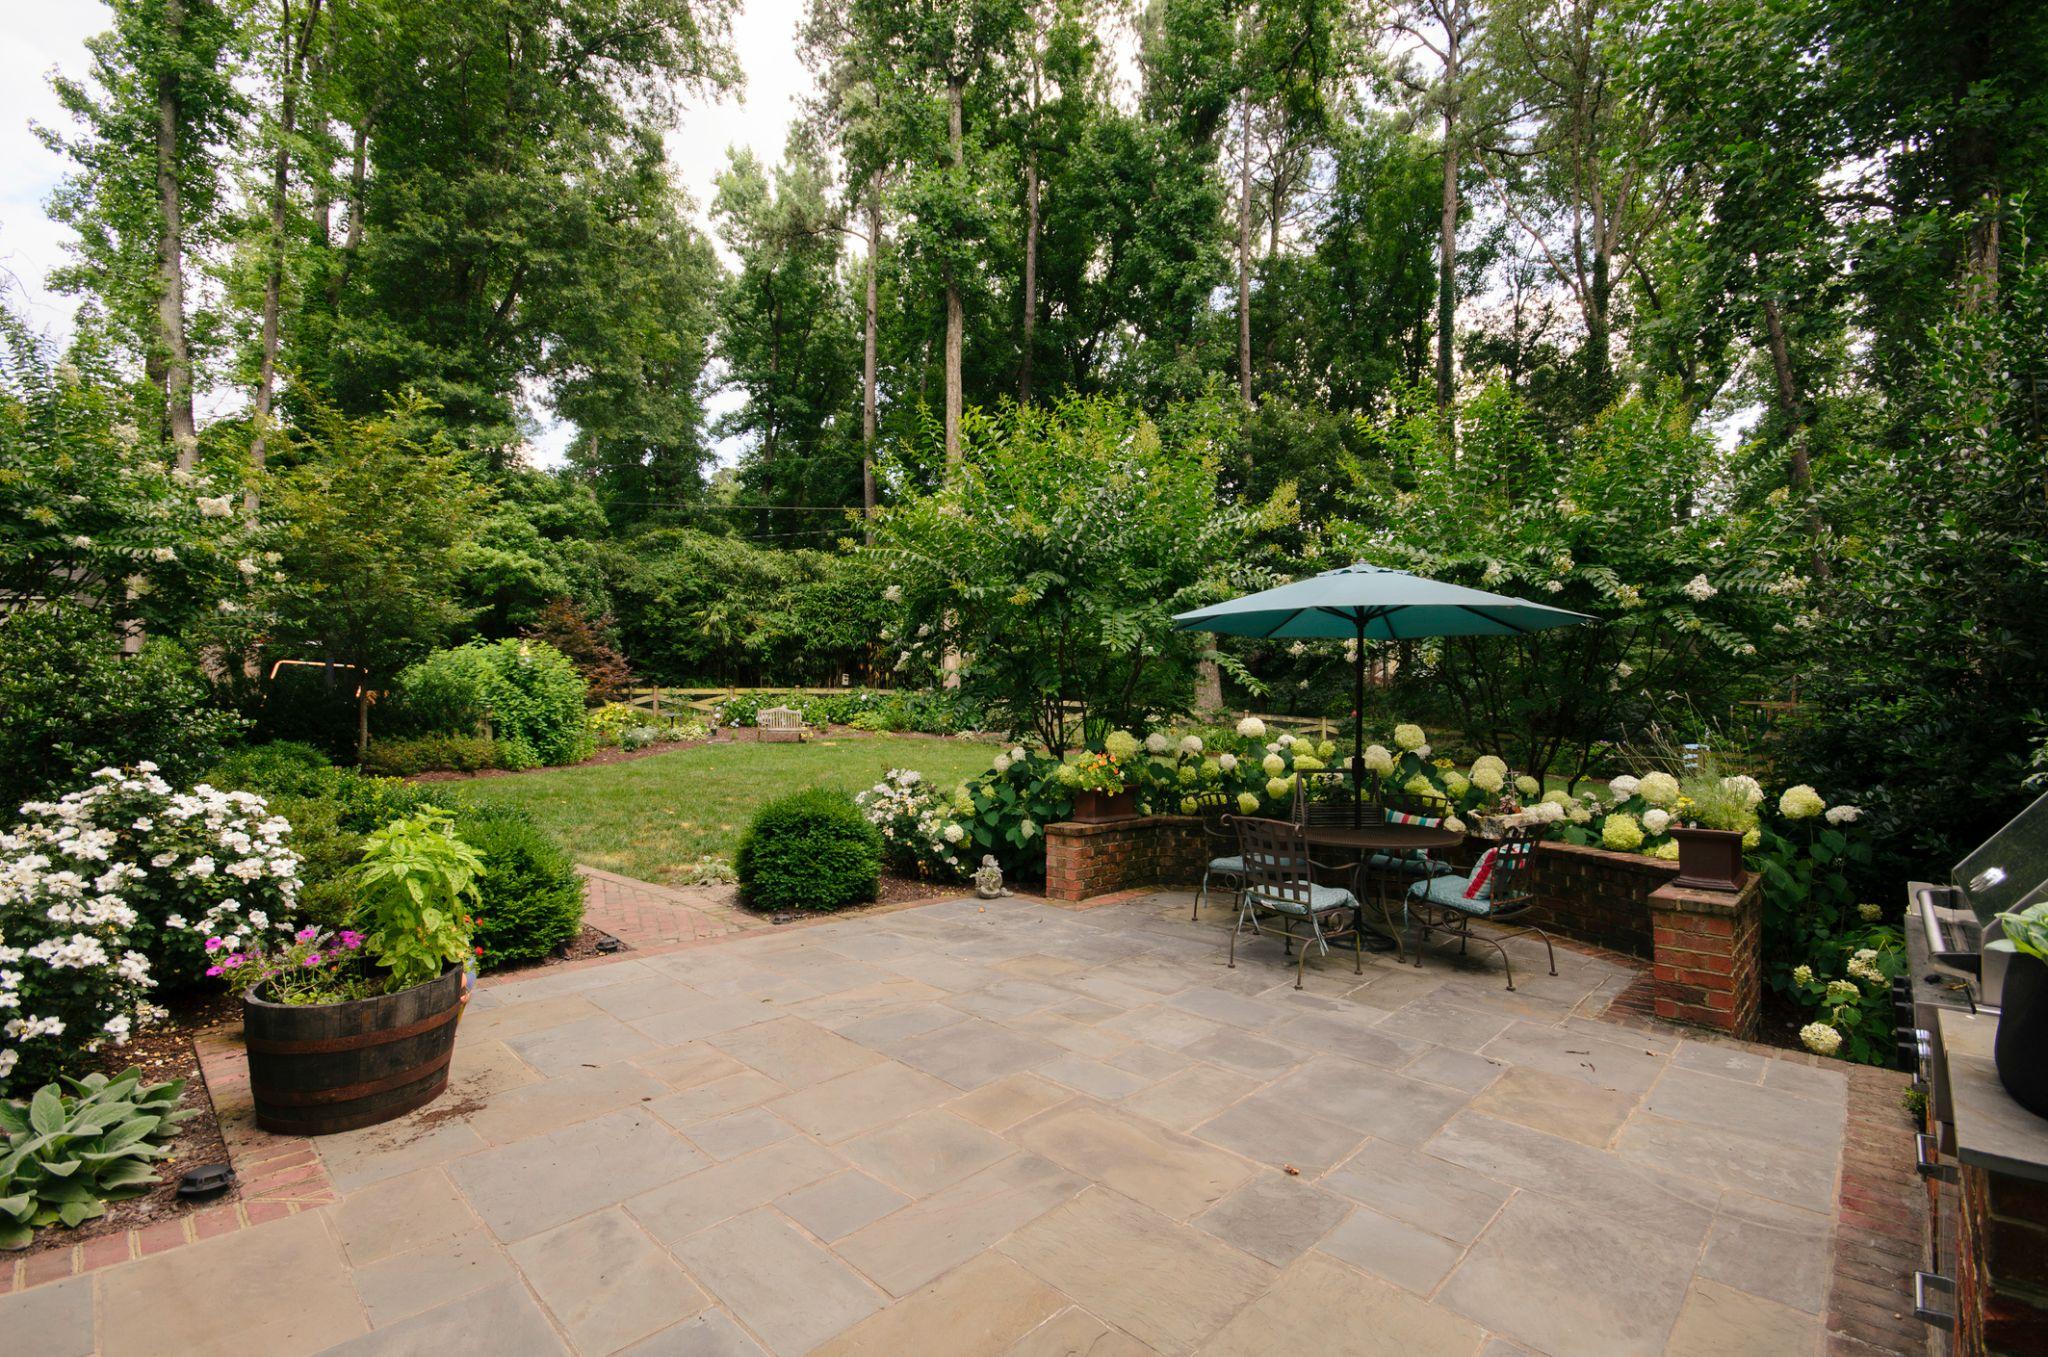
Once drainage is established, zone placement is the spatial planning challenge. The logic is straightforward once you work through it: the cooking zone should be adjacent to the dining zone so food moves efficiently from grill to table; the fire zone should sit far enough from dining for comfort but close enough for conversation; the lounging zone benefits from afternoon shade.
A practical planning exercise: trace the path from your back door to the grill. Then from the grill to the dining table. Then from the dining table to the fire feature. Those circulation paths determine how the space flows when it’s full of people. Design the paths first, and the zones arrange themselves around them.
Privacy screening should be part of the zone plan from the start. Evergreen planting, fencing, or a pergola with climbing plants can create outdoor rooms that feel genuinely private without looking like afterthoughts.
3D landscape design is particularly useful at this stage. Seeing furniture placement, overhead structures, and privacy screening at scale before construction begins lets you catch zone conflicts and circulation problems while they’re still a matter of moving things around a screen rather than a patio.
Step 5: Plan for Lighting, Power, and Gas Before Construction Begins
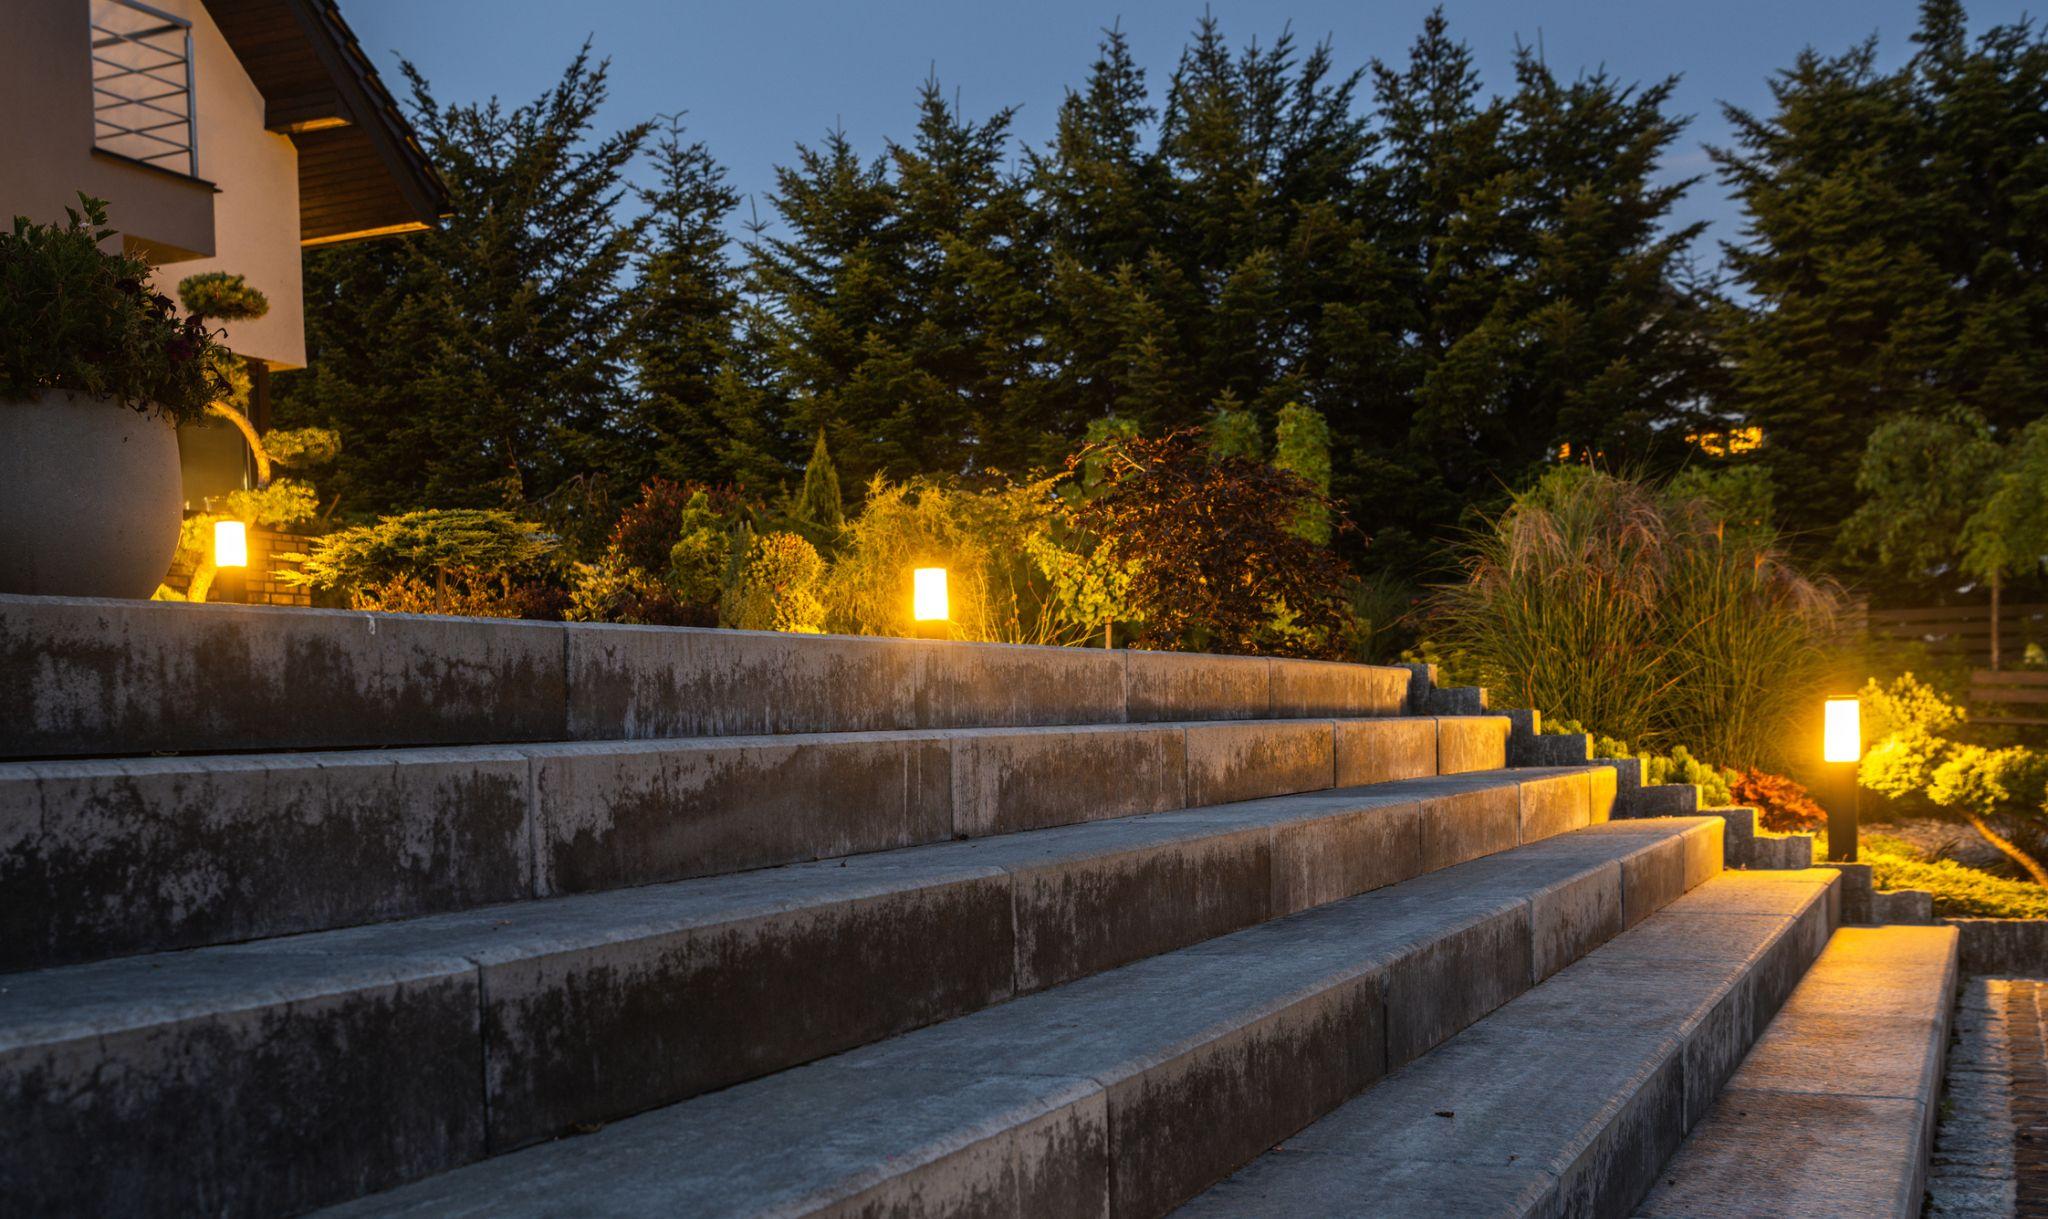
One of the most common post-construction regrets in outdoor living projects involves utilities that were not accounted for before the patio surface was installed. Low-voltage landscape lighting conduit, line-voltage electrical for outlets and built-in fixtures, and gas lines for fire features and outdoor kitchens must all be roughed in before hardscape work begins. Retrofitting any of these after the fact requires cutting through finished surfaces, resulting in added cost and visible repair seams that are difficult to conceal.
To avoid this mistake, plan for these three categories:
- Low-voltage landscape lighting: path lights, in-ground uplights for trees or architectural features, string lights integrated into a pergola. These run on low-voltage cable that’s relatively easy to plan but still needs to be under the patio, not run across it.
- Line-voltage electrical: outdoor GFCI outlets, built-in fixture wiring, audio, any powered equipment. This requires a licensed electrician and must meet Wisconsin outdoor electrical code requirements.
- Gas lines: for fire features, outdoor kitchen burners, or a future gas grill connection. This requires a licensed plumber or gas fitter and coordination with the landscape design-build team.
In Wisconsin outdoor patio design, coordinating licensed trades around a hardscape installation schedule is one of the most important logistical challenges in any outdoor living project. Using a single design-build contractor who manages that coordination eliminates the timing gaps that lead to cut-up finished work.
What Outdoor Living Design Looks Like With Willow River Company
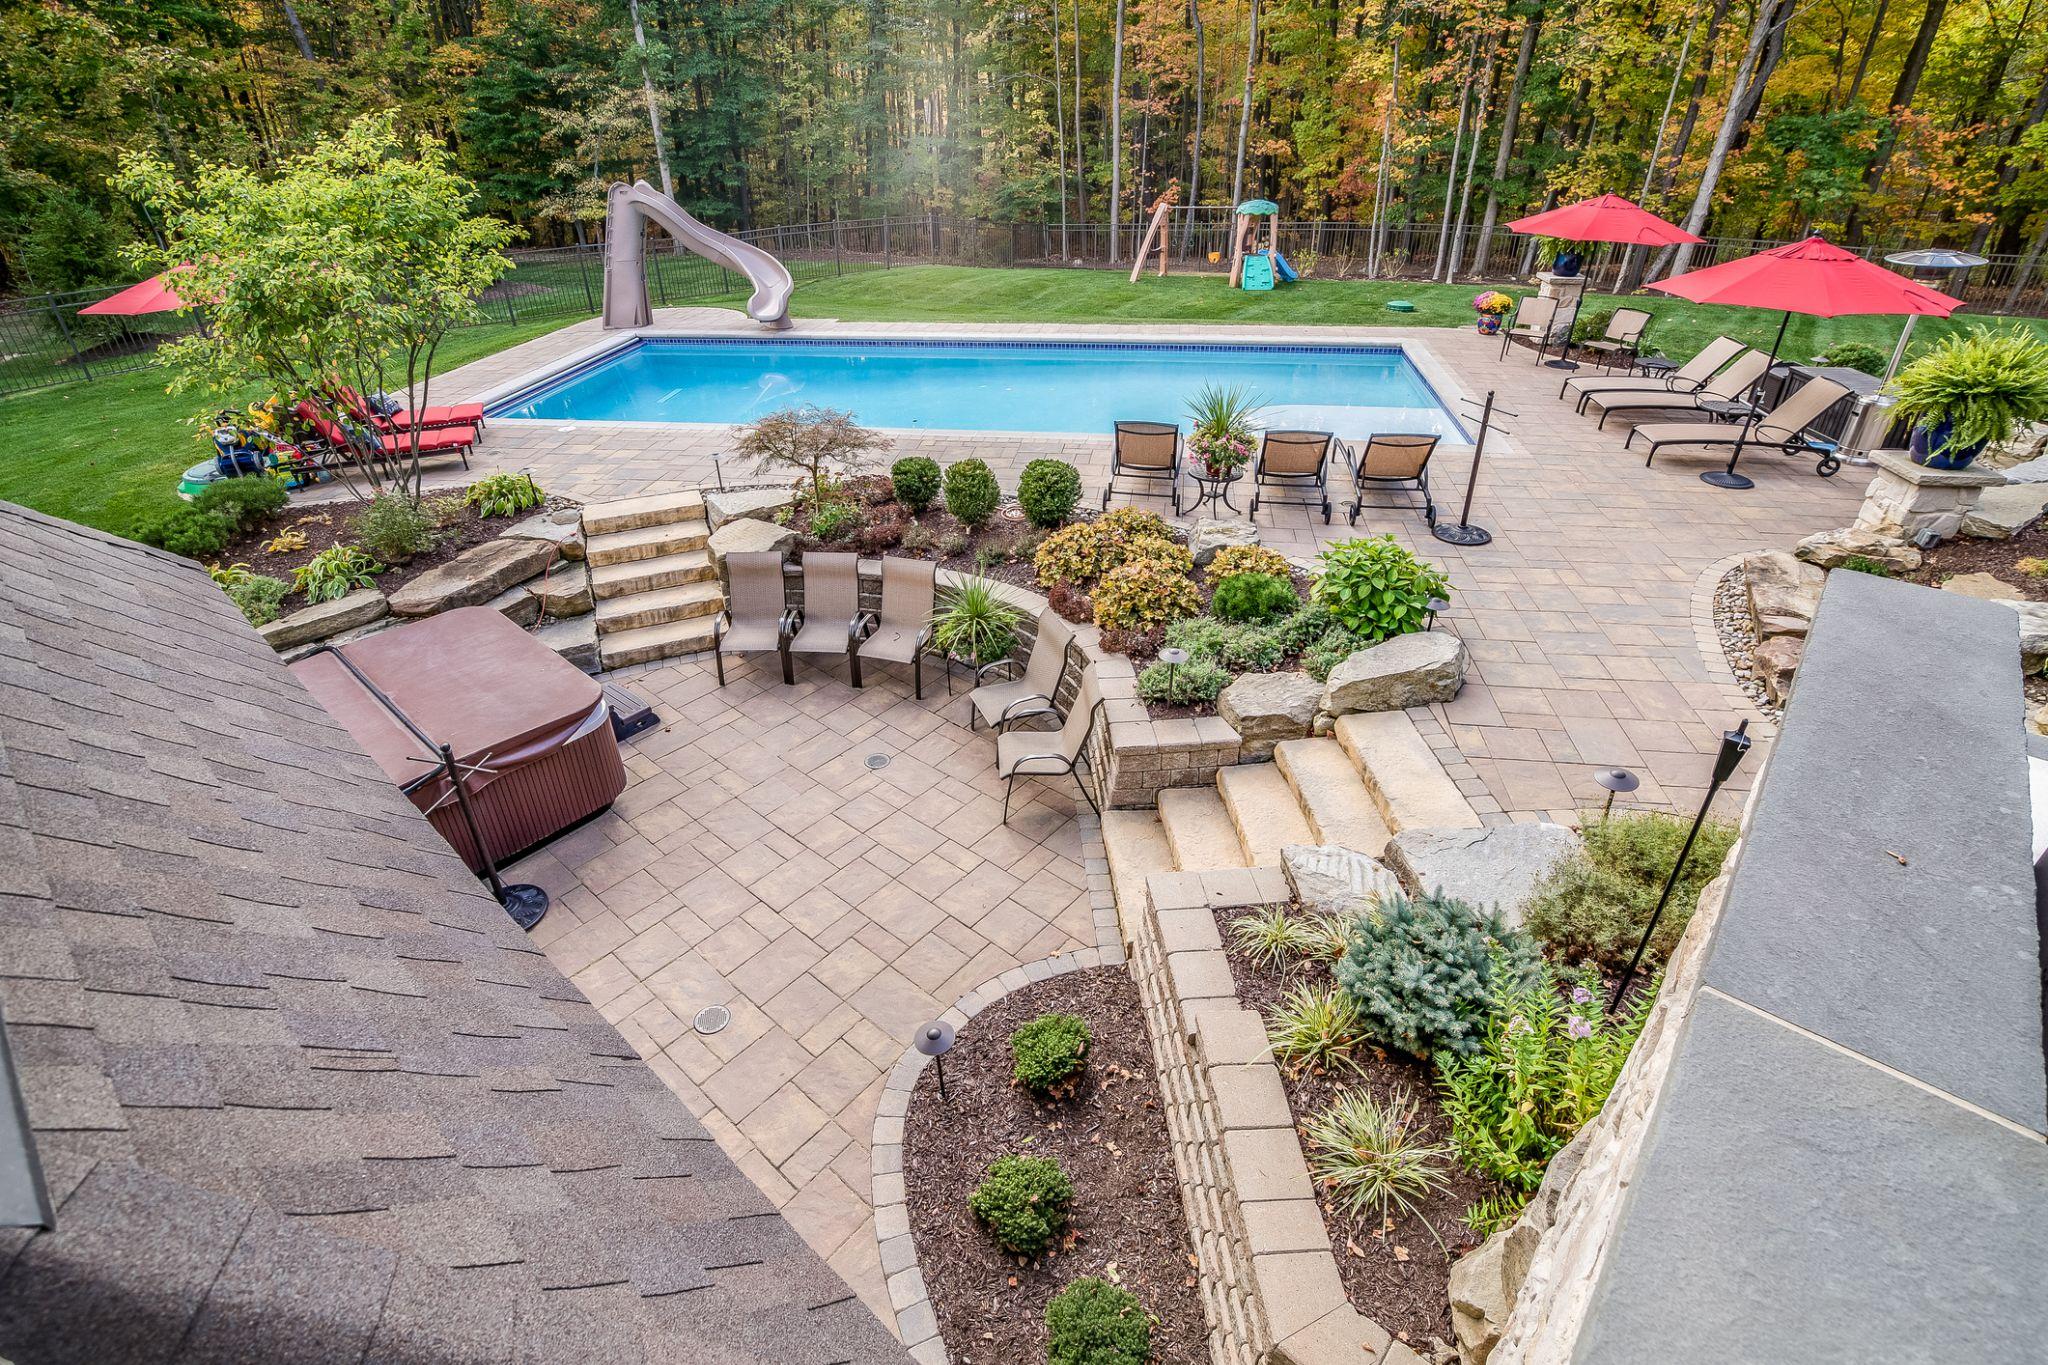
Willow River Company manages the full outdoor living design-build process in-house, from initial consultation through construction and final walkthrough, with every step structured to avoid the common failure points that drive post-construction regret.
Outdoor living projects often lend themselves well to phased construction. A patio and fire feature in year one, an outdoor kitchen in year two, a pergola in year three — each phase can be designed from the outset as part of a cohesive whole, so the completed project looks intentional rather than assembled over time. Willow River Company’s design process accounts for phased construction from the beginning, eliminating the compromises that come from planning each phase in isolation.
Designing an outdoor space in the St. Croix River Valley is a significant investment in a relatively short outdoor season. Getting the planning right — the zones, the materials, the drainage, the underground infrastructure — is what determines whether that investment performs for thirty years or requires expensive rework in five. Request a quote to start with a conversation about what’s possible on your specific site.
Tags: